
How To Take & Edit Amazing Travel Photos

Hey friends! The question I get asked all the time is how we take and edit our photos when we are traveling! I’ve actually had people ask if we take a photographer with us… which is both hilarious and also the best compliment ever!!
The majority of the time when we are traveling, it is just the two of us, so we have to get pretty creative when trying to capture the moment + both of us! There have been a few times we have had friends, family or a guide with us that have taken our photos— so that’s nice, but you still have to know how to coach them to take a good picture. I hope these steps below will help you all with your travel photography— or even photography at home!

This photo was taken with my DSLR and tripod in Budapest, Hungary.

We used the DSLR and tripod for this photo in Cairns, Australia.

This photo was taken by placing the DSLR in a potted plant in Havana, Cuba!

This photo was taken by our guide with my DSLR in Machu Picchu, Peru!
The Cameras + Accessories:
DSLR CAMERA
I take mostly all of our photos with my DLSR camera. The camera I have is from my Sophomore year in college— in 2010! It is a pretty cheap DLSR— but it works... I have linked it HERE if you are interested in getting a cheaper, but good camera! I firmly believe that the body of the camera is not that important, but the lens is what matters.
I am not a professional photographer, but the lens that I have has worked perfectly for what we need and makes my photos crisp and clean! It is also great for travel because it zooms in quite a bit, but also gets the full picture for landscapes and such! This is the lens I have HERE and I highly recommend!
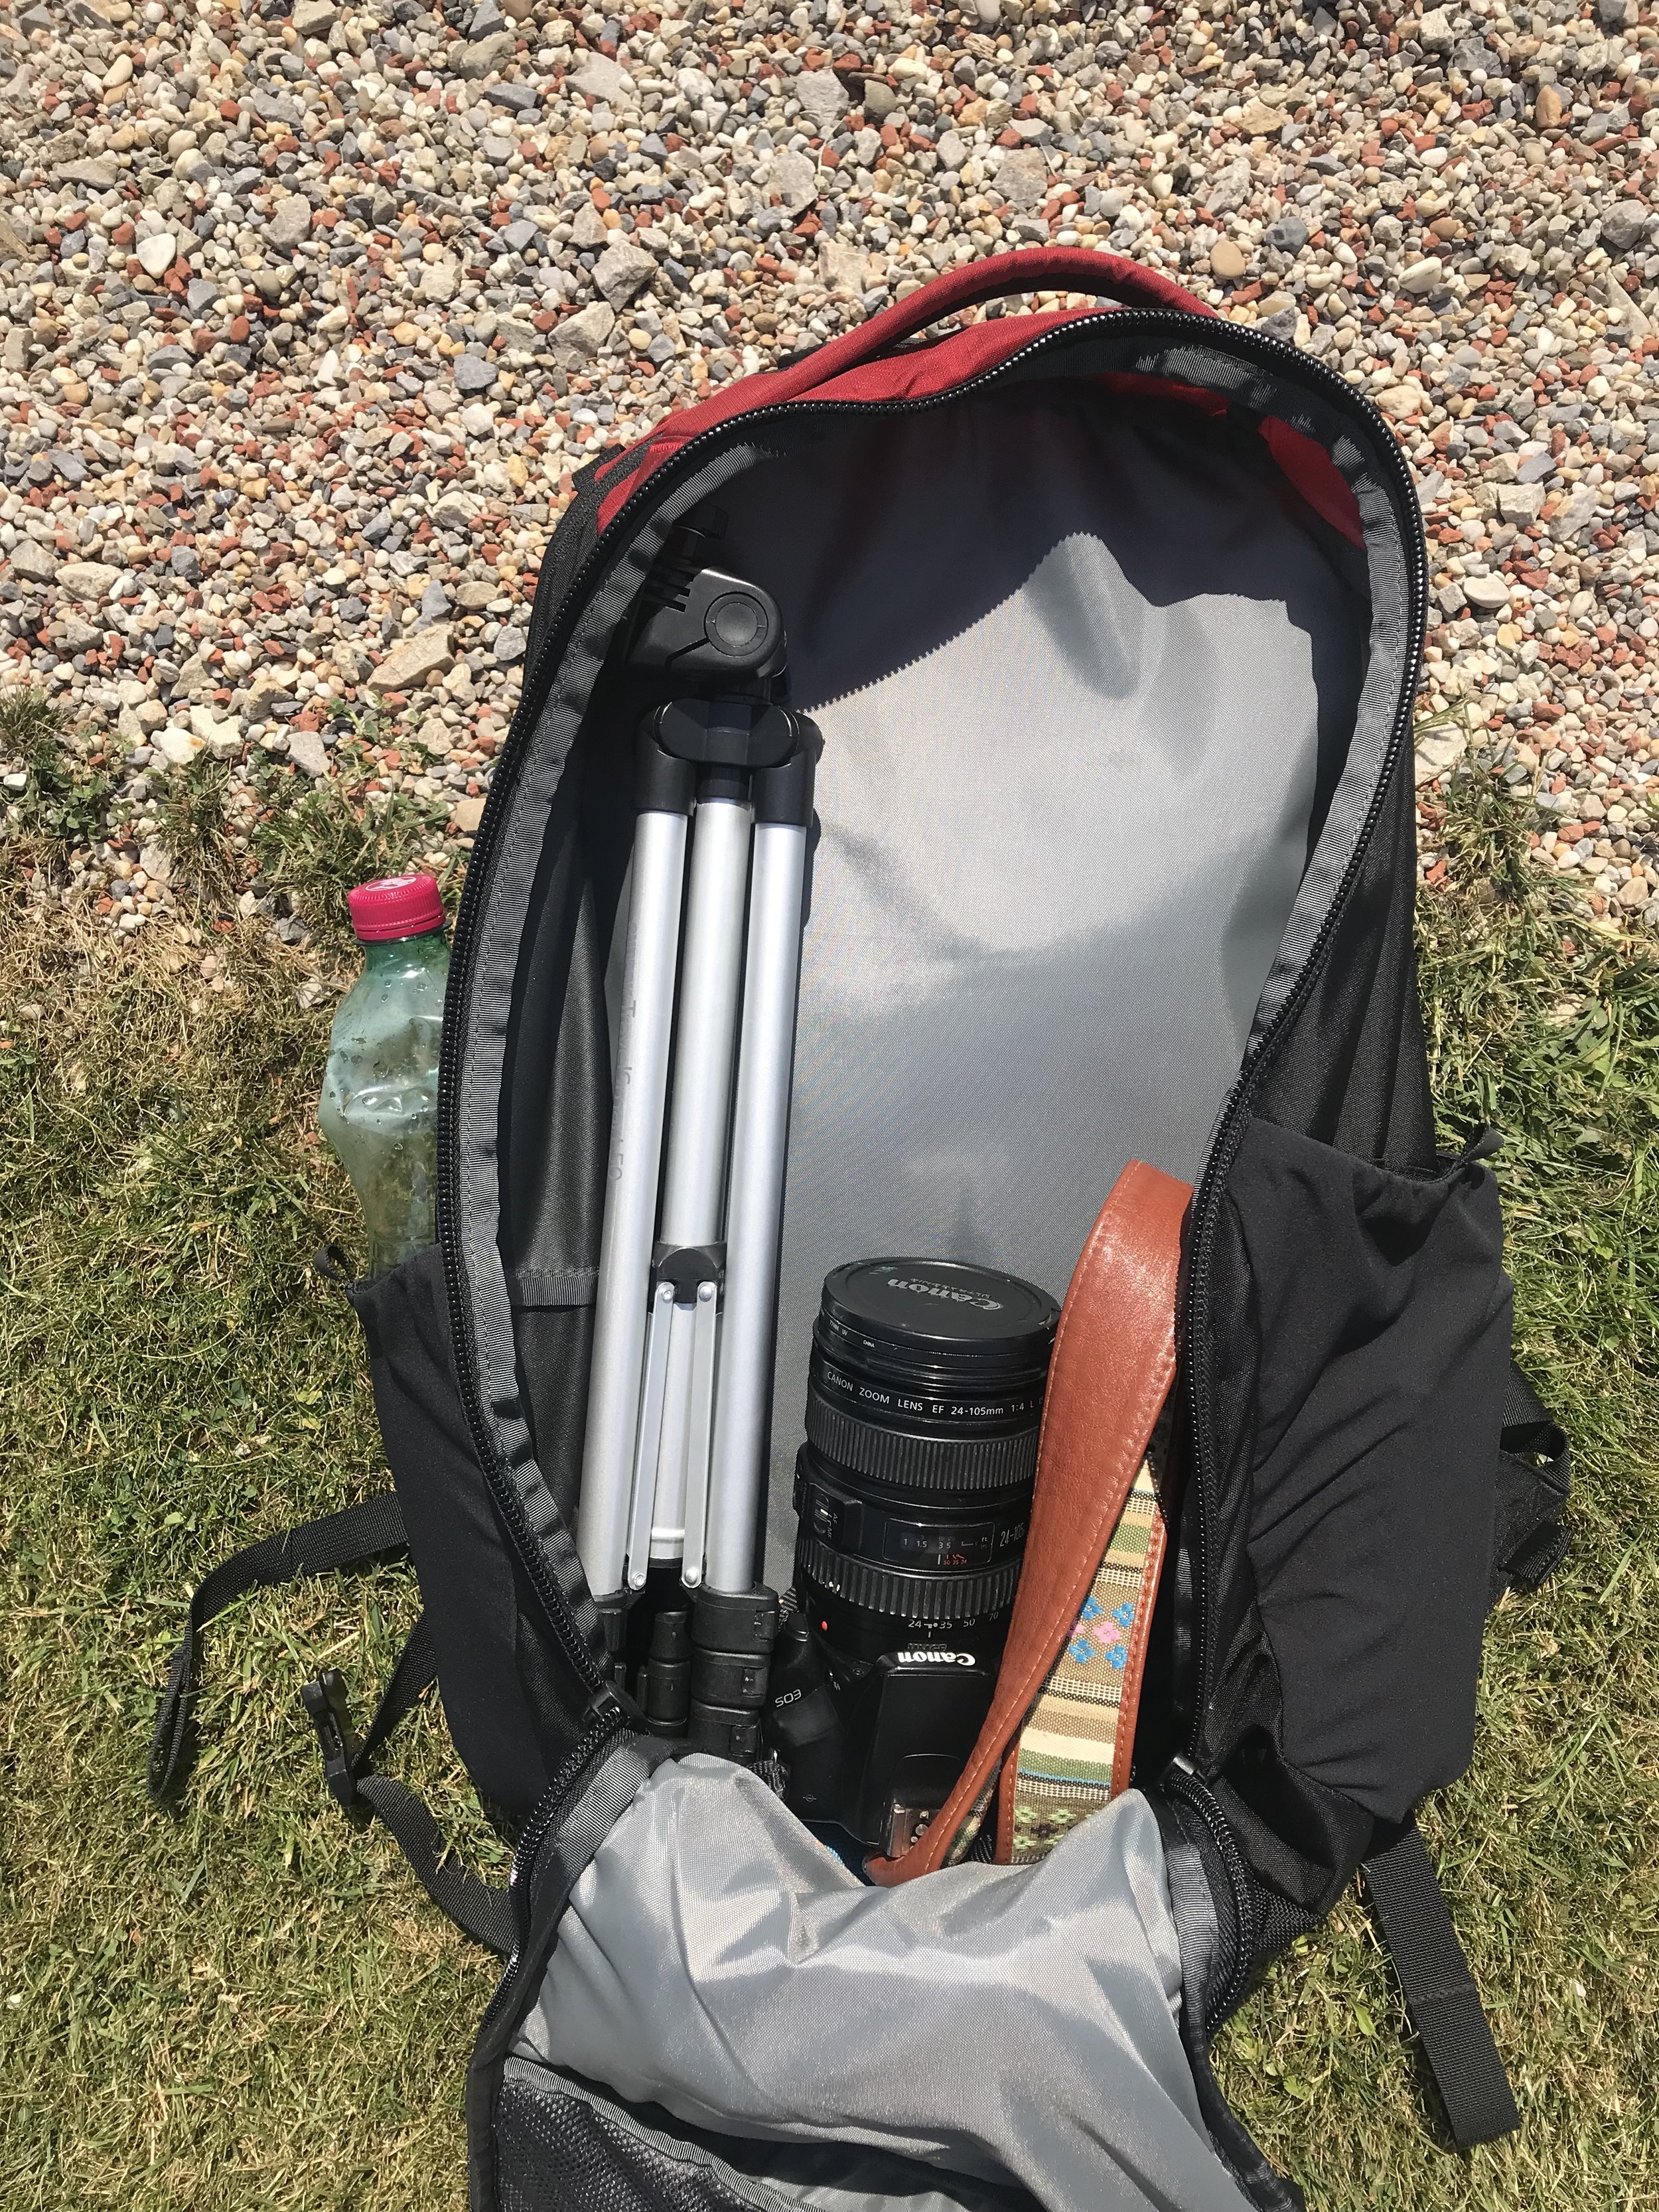
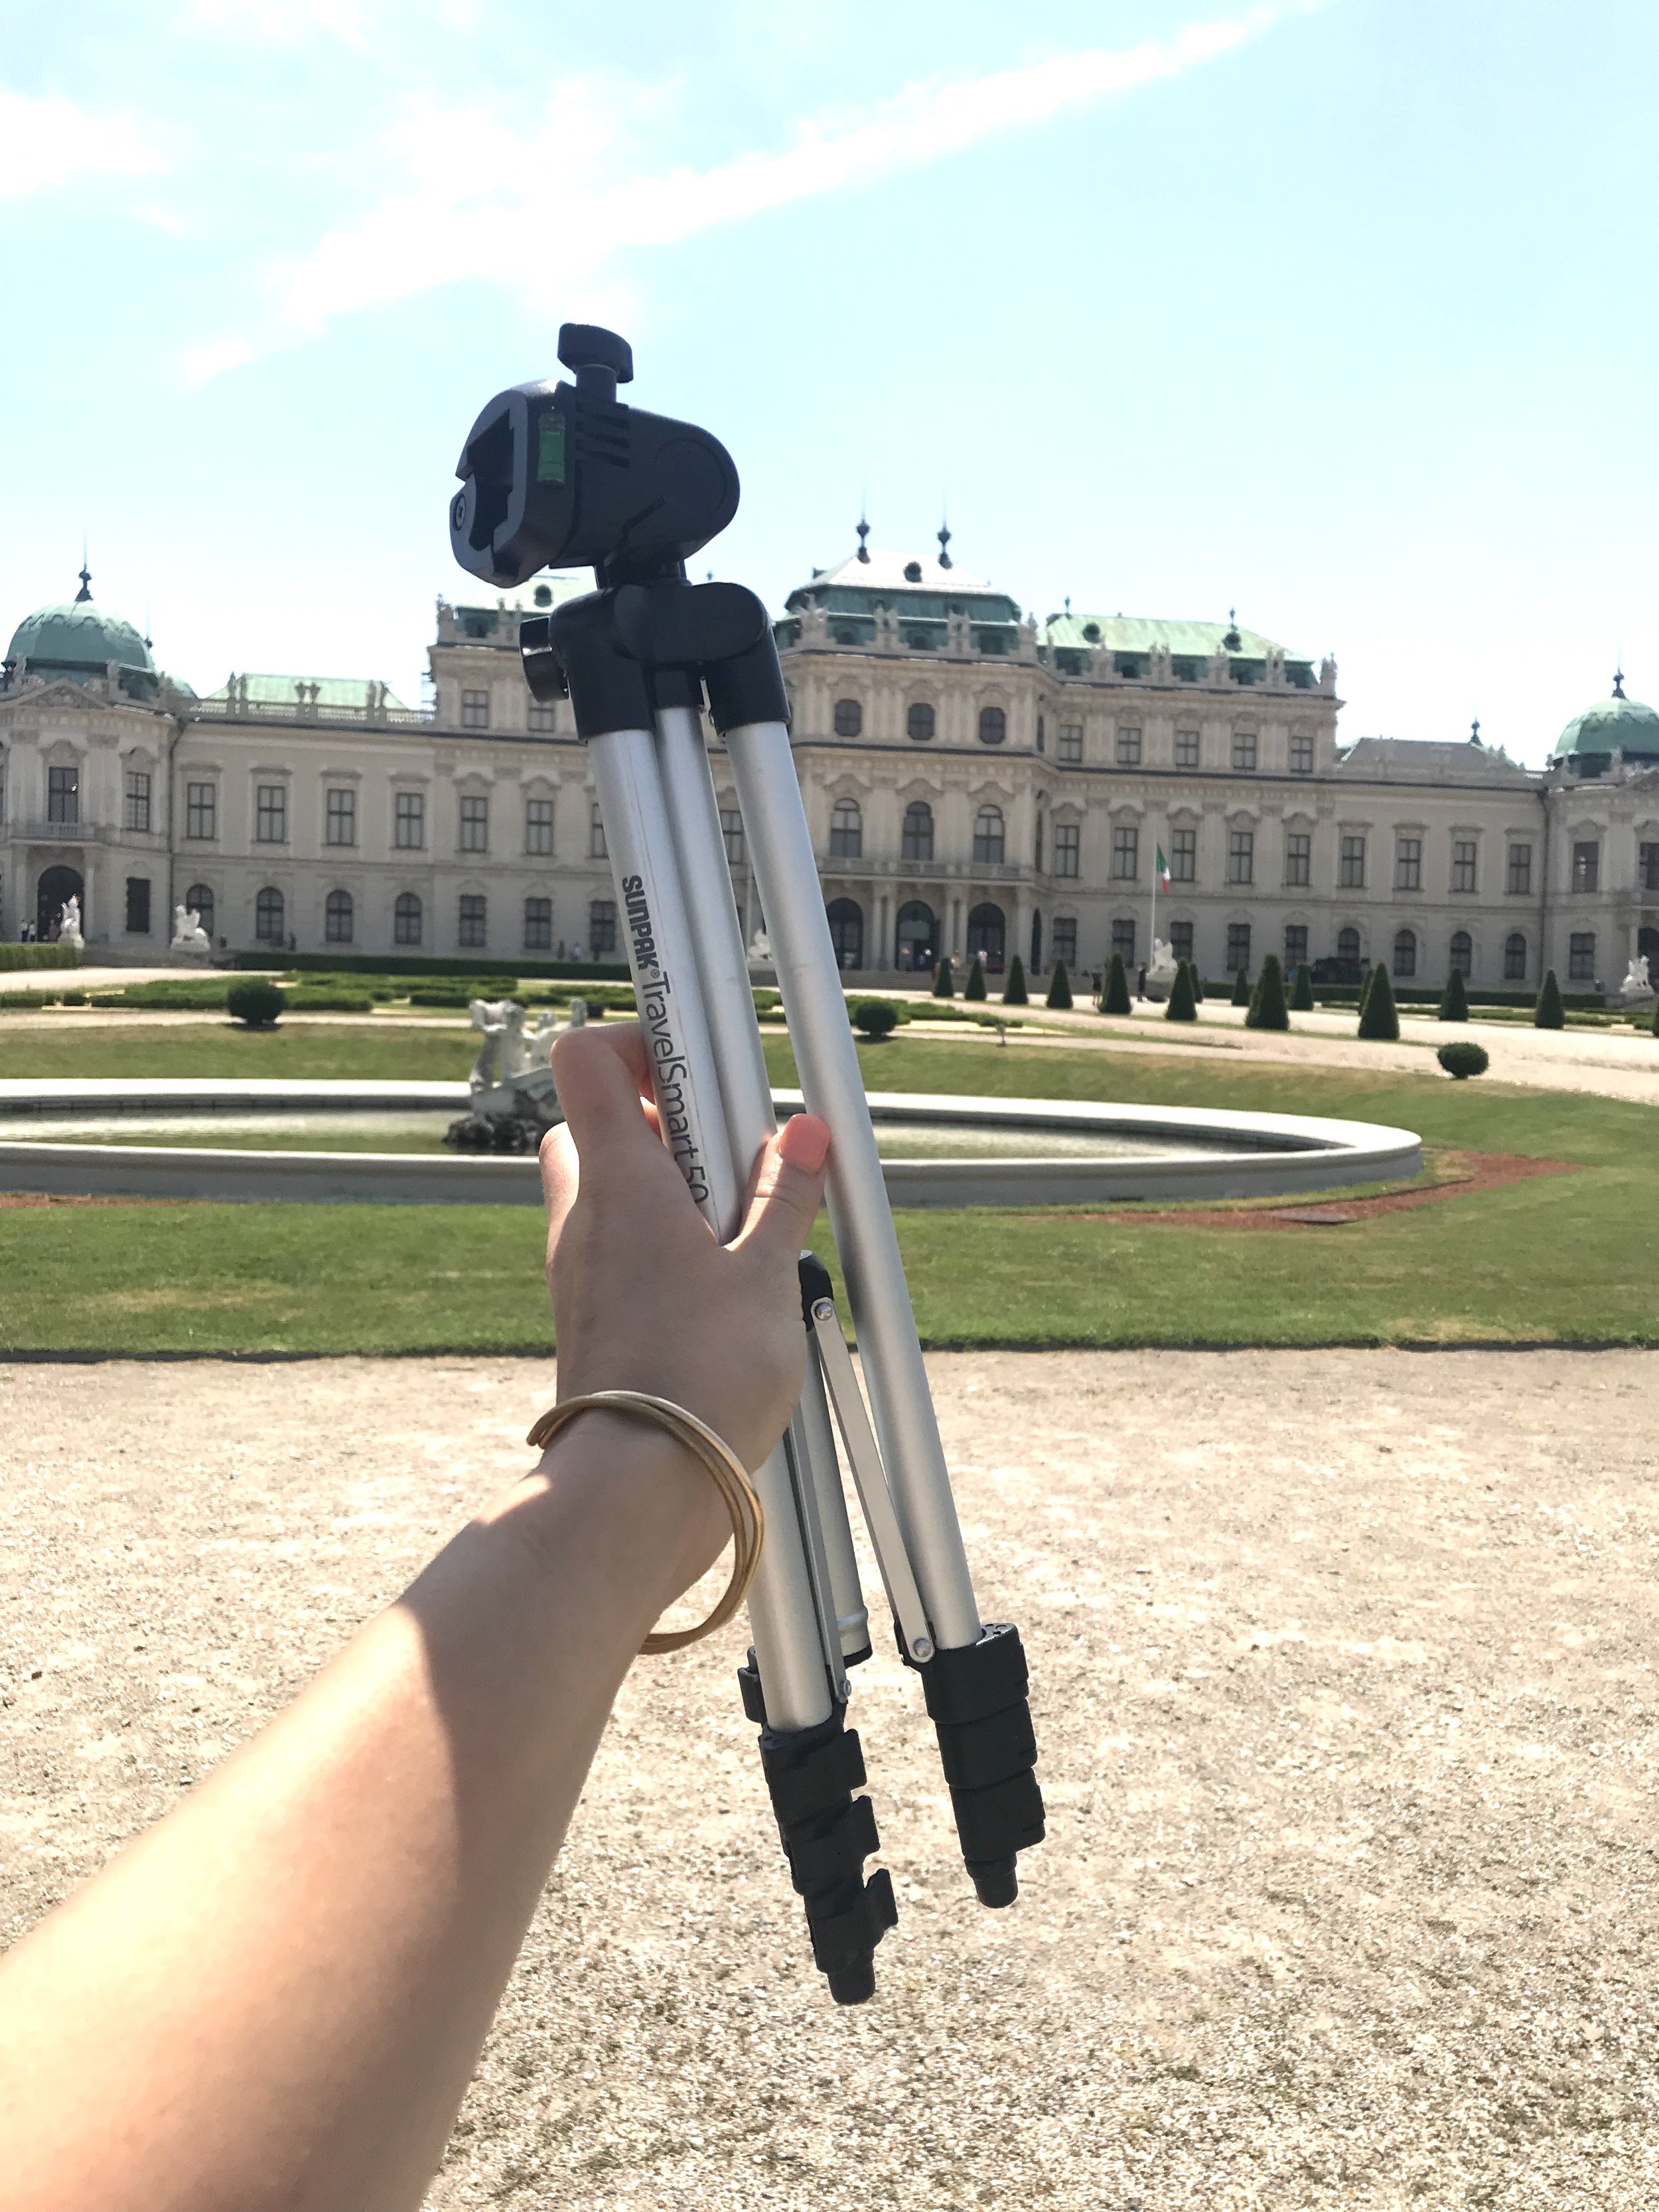
Be aware, it is quite heavy— but it is worth carrying around all day while traveling just to have such high quality photos! We also use this tripod HERE when traveling. It is super light weight and compact and John usually carries a small backpack and puts it in there. To quickly get my photos from my camera to my iPhone to edit I use this converter HERE, which is so easy to use! My camera strap is super cute and a similar one (that I LOVEEE) is found HERE.
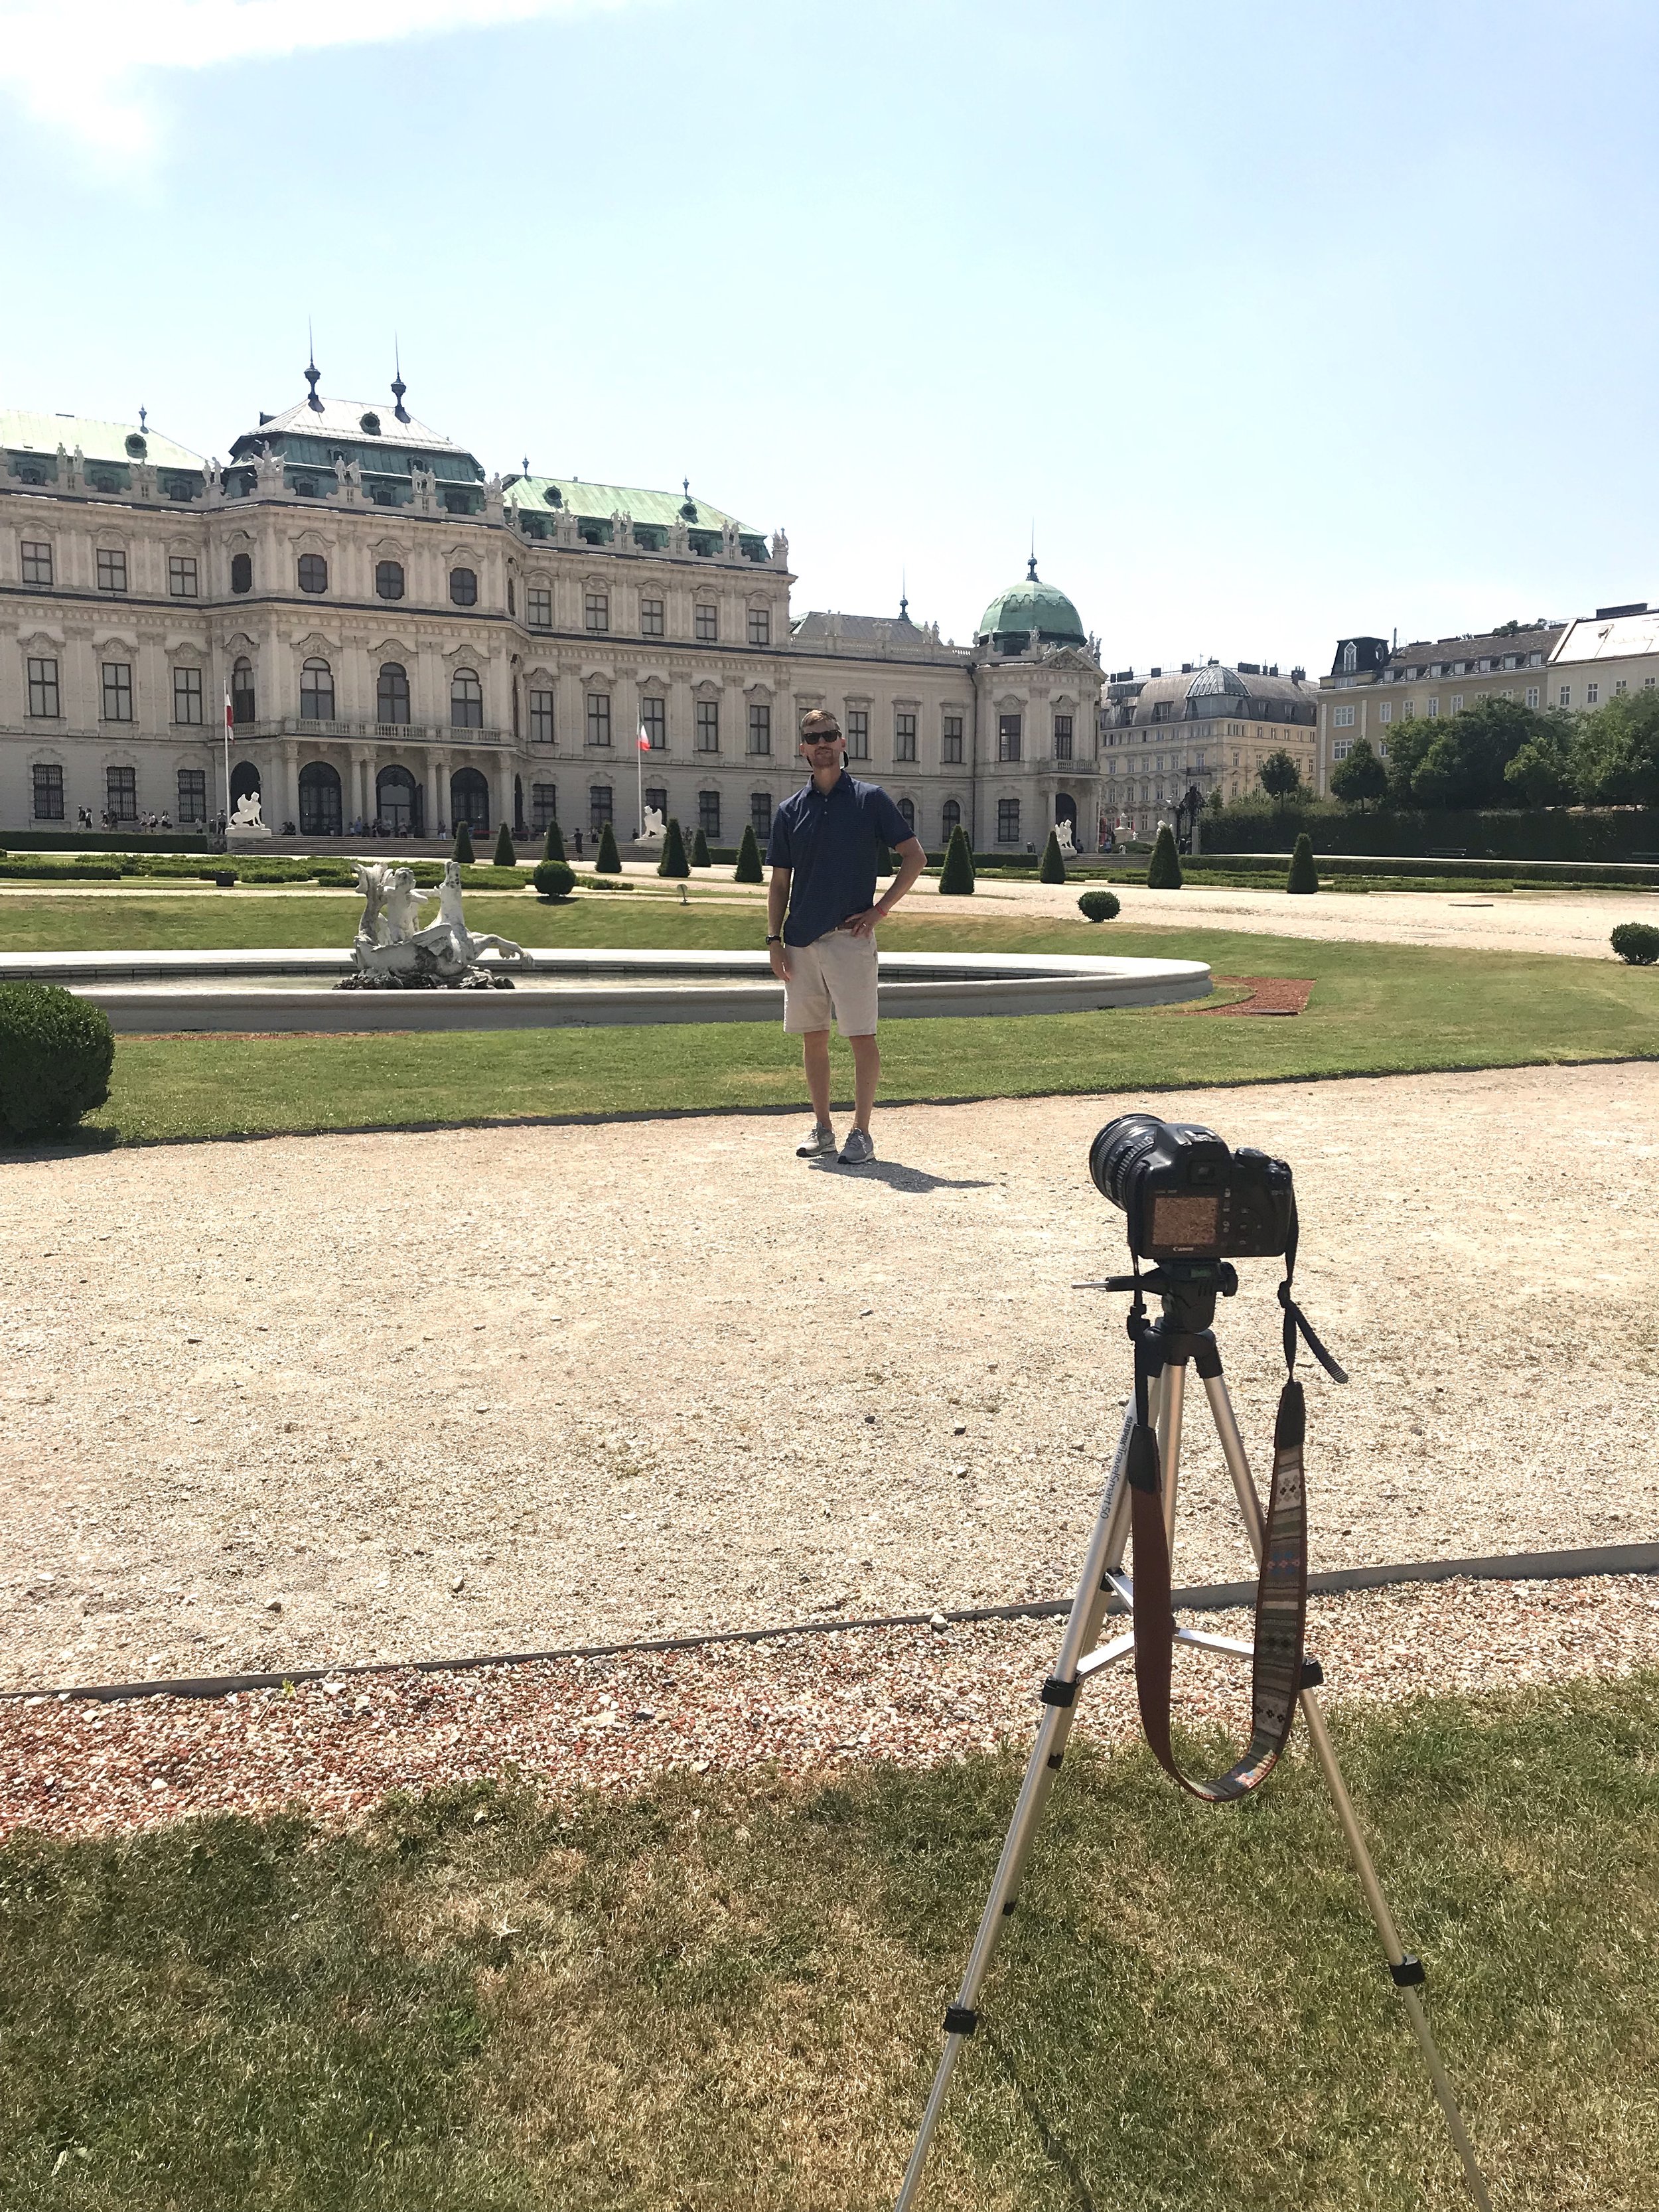
These photos below are what we typically carry with us on a sightseeing day. As you can see, the tripod and camera fit nicely in John’s backpack. I usually frame out the picture and do some test shots with John in them, to check lighting and to see what it will look like!

GOPRO
We have had a gopro since our very first trip in 2013— and we love it! The fact that it is so durable, can go underwater and is basically indestructible, makes it a great thing to have while traveling to exotic places. We always use the gopro when hiking, biking, cliff jumping, bungee jumping, swimming, scuba diving, snorkeling, playing with elephants, etc! We have gotten some amazing shots on here and love not having to worry about it breaking or getting wet.
We have the Hero 7 like this one HERE and absolutely love it!
I highly recommend getting some accessories to go with it like these HERE because having a tripod, head strap, etc. makes it easier when trying to get the perfect shot! We also love our Swivel Stick HERE because you can make the gopro flip around quickly and get the full shot. This is what I use for all of the videos we take while abroad.

Taken by our GoPro and GoPro tripod in Queenstown, New Zealand!

Taken with our GoPro while snorkeling and scuba diving the Great Barrier Reef in Australia!

Taken with our GoPro on a gondola in Venice, Italy.

Taken by a random girl with our GoPro in Honolulu, Hawaii.

Taken with our GoPro and selfie stick in Paris, France!

Taken with our GoPro and swivel stick in Ha Long Bay, Vietnam!

Taken with our GoPro and swivel stick in Chiang Mai, Thailand!
Taking the Photos:
When You are By Yourself:
When you are traveling without anyone to take your photos— the best thing to do is use a tripod OR find a well placed bush, table, tree, ledge, bench, etc. I have had to resort to this MANY TIMES, because we forgot the tripod or we didn’t want to carry it. Somehow I am always able to find something to set the camera on to get the shot. You have to get a bit creative and be patient— but it is worth it to get a great photo.
Whether you are using your tripod or setting the camera on something else, you will need to find the”self-timer: continuous” photo setting on your DSLR. This setting will give you 10 seconds to get set in front of the camera and then it will take a set number of continuous photos rapidly.
I always set mine to take 10 photos (in the photo below it is set on 2 photos). You can do any number, I just think 10 gives us enough chances to be creative with posing and I know there has to be at least a few good ones out of the 10 it takes. Once we get it all set up, I take a few test shots with John in the frame and then I turn it on and jump in the photo with him. We then pose, smile, fake laugh (lol), walk, etc.

The following pictures below were taken by setting my DLSR on random things or by using the tripod. ((Do keep in mind— you want to find a place that is not heavily populated and always keep an eye on your camera. The last thing you would want is for someone to come and snatch your camera while you are taking photos!!))

I had a random girl snap this photo for us with my DSLR in Budapest!

For this photo, I set the DSLR camera on a window ledge in Havana, Cuba!

This was taken by setting my DSLR on a table at our airbnb in the Whitsundays, Australia!

This photo was taken by setting my DSLR camera on a ledge and propped up on John’s backpack in Vienna, Austria!

This photo was taken with my DSLR by placing it on a random table on a beach in Thailand!

This photo was taken using our tripod and DSLR in Townesville, Australia!

This photo was taken by placing my DSLR on a bench, propped up by our backpack in Havana, Cuba.
Training a Friend/Guide/Family Member
When passing the camera or phone over to a friend/guide/family member the first thing you need to remember is that not everyone has an eye for taking a photo. If you don’t give them a clear and quick lesson— they probably won’t get the exact shot you are wanting. I used to get very frustrated with John when I would have him take solo photos of me, but it was mostly because he just didn’t understand what I wanted. After teaching him how to do it, I have learned how to better coach other people as well.
My first tip is shoot everything on auto. I don’t even know where to begin with manual focus, so for the sake of my sanity, I keep it on auto anyways— it focuses itself and makes everything so much easier for everyone involved.
Next, give them a quick visual of what you want the photo to look like. I always snap one and frame it exactly the way I want it to look. I point out how I want this building in it, I tell them to make sure it’s lined up with this, and then I usually point to where we will be standing or sitting.
John used to have a problem with getting too much of the ground in the picture— so I always show him exactly how I want it framed before I jump into the picture. Sometimes I make him stand where I am going to stand, so he can see how I framed it with a person in it. Visual aids are very helpful, so be sure to show them exactly what you want!
Then, all you have tell them is to snap a lot of photos rapidly and hold the camera steady. I usually tell them that I like candid photos and that we will be moving, looking away, looking at each other, etc. and to just keep on snappin’! It is definitely awkward sometimes, but I think the relaxed + candid photos are so much cuter than stiff smiling photos. John has definitely mastered the fake and awkward laugh… practice makes perfect! Most of the time if you fake a laugh, you will actually laugh for real— so then it becomes a more natural looking photo! lol!

My parents snapped this photo for us with my DSLR in Prague!

Our friend J.J. snapped this photo of us on my iPhone in Cartagena, Colombia!
John took this picture with my DSLR at our airbnb in the Whitsundays in Australia!

Our friend Blayke snapped this photo for us at a winery in Tuscany!

John snapped this with my DSLR in Cuba!

Our guide snapped this photo of us with my DSLR in Cusco, Peru.

John took this with my DSLR in Cairns, Australia!

Our friend J.J. took this photo for us in Guatape, Colombia using my DSLR camera.
Editing the Photos
I use the iPhone Lightroom app to edit all of my photos as we go. The app is super easy to use, you just have to play around with it a little. Each photo needs to be edited specifically for how it is taken, but I almost always shoot in daylight, or during dusk when the lighting is good. Pretty much every photo I will adjust these below, depending on what is needed.
I usually use the “bright” preset under the “Color” preset tab
Increase pink tint slightly
Increase exposure, but do not over-expose. Make sure that nothing looks washed out or too bright.
Lower highlights, this will even out the brightness
Increase shadows
Increase sharpness slightly
I will sometimes decrease temperature slightly if the photo is very orange or cream colored (I like my photos very crisp and white)
Increase the clarity
Add a touch of saturation
And always straighten the photo under the crop tab so that the horizon is straight— one of my biggest pet peeves is when the photo is crooked.
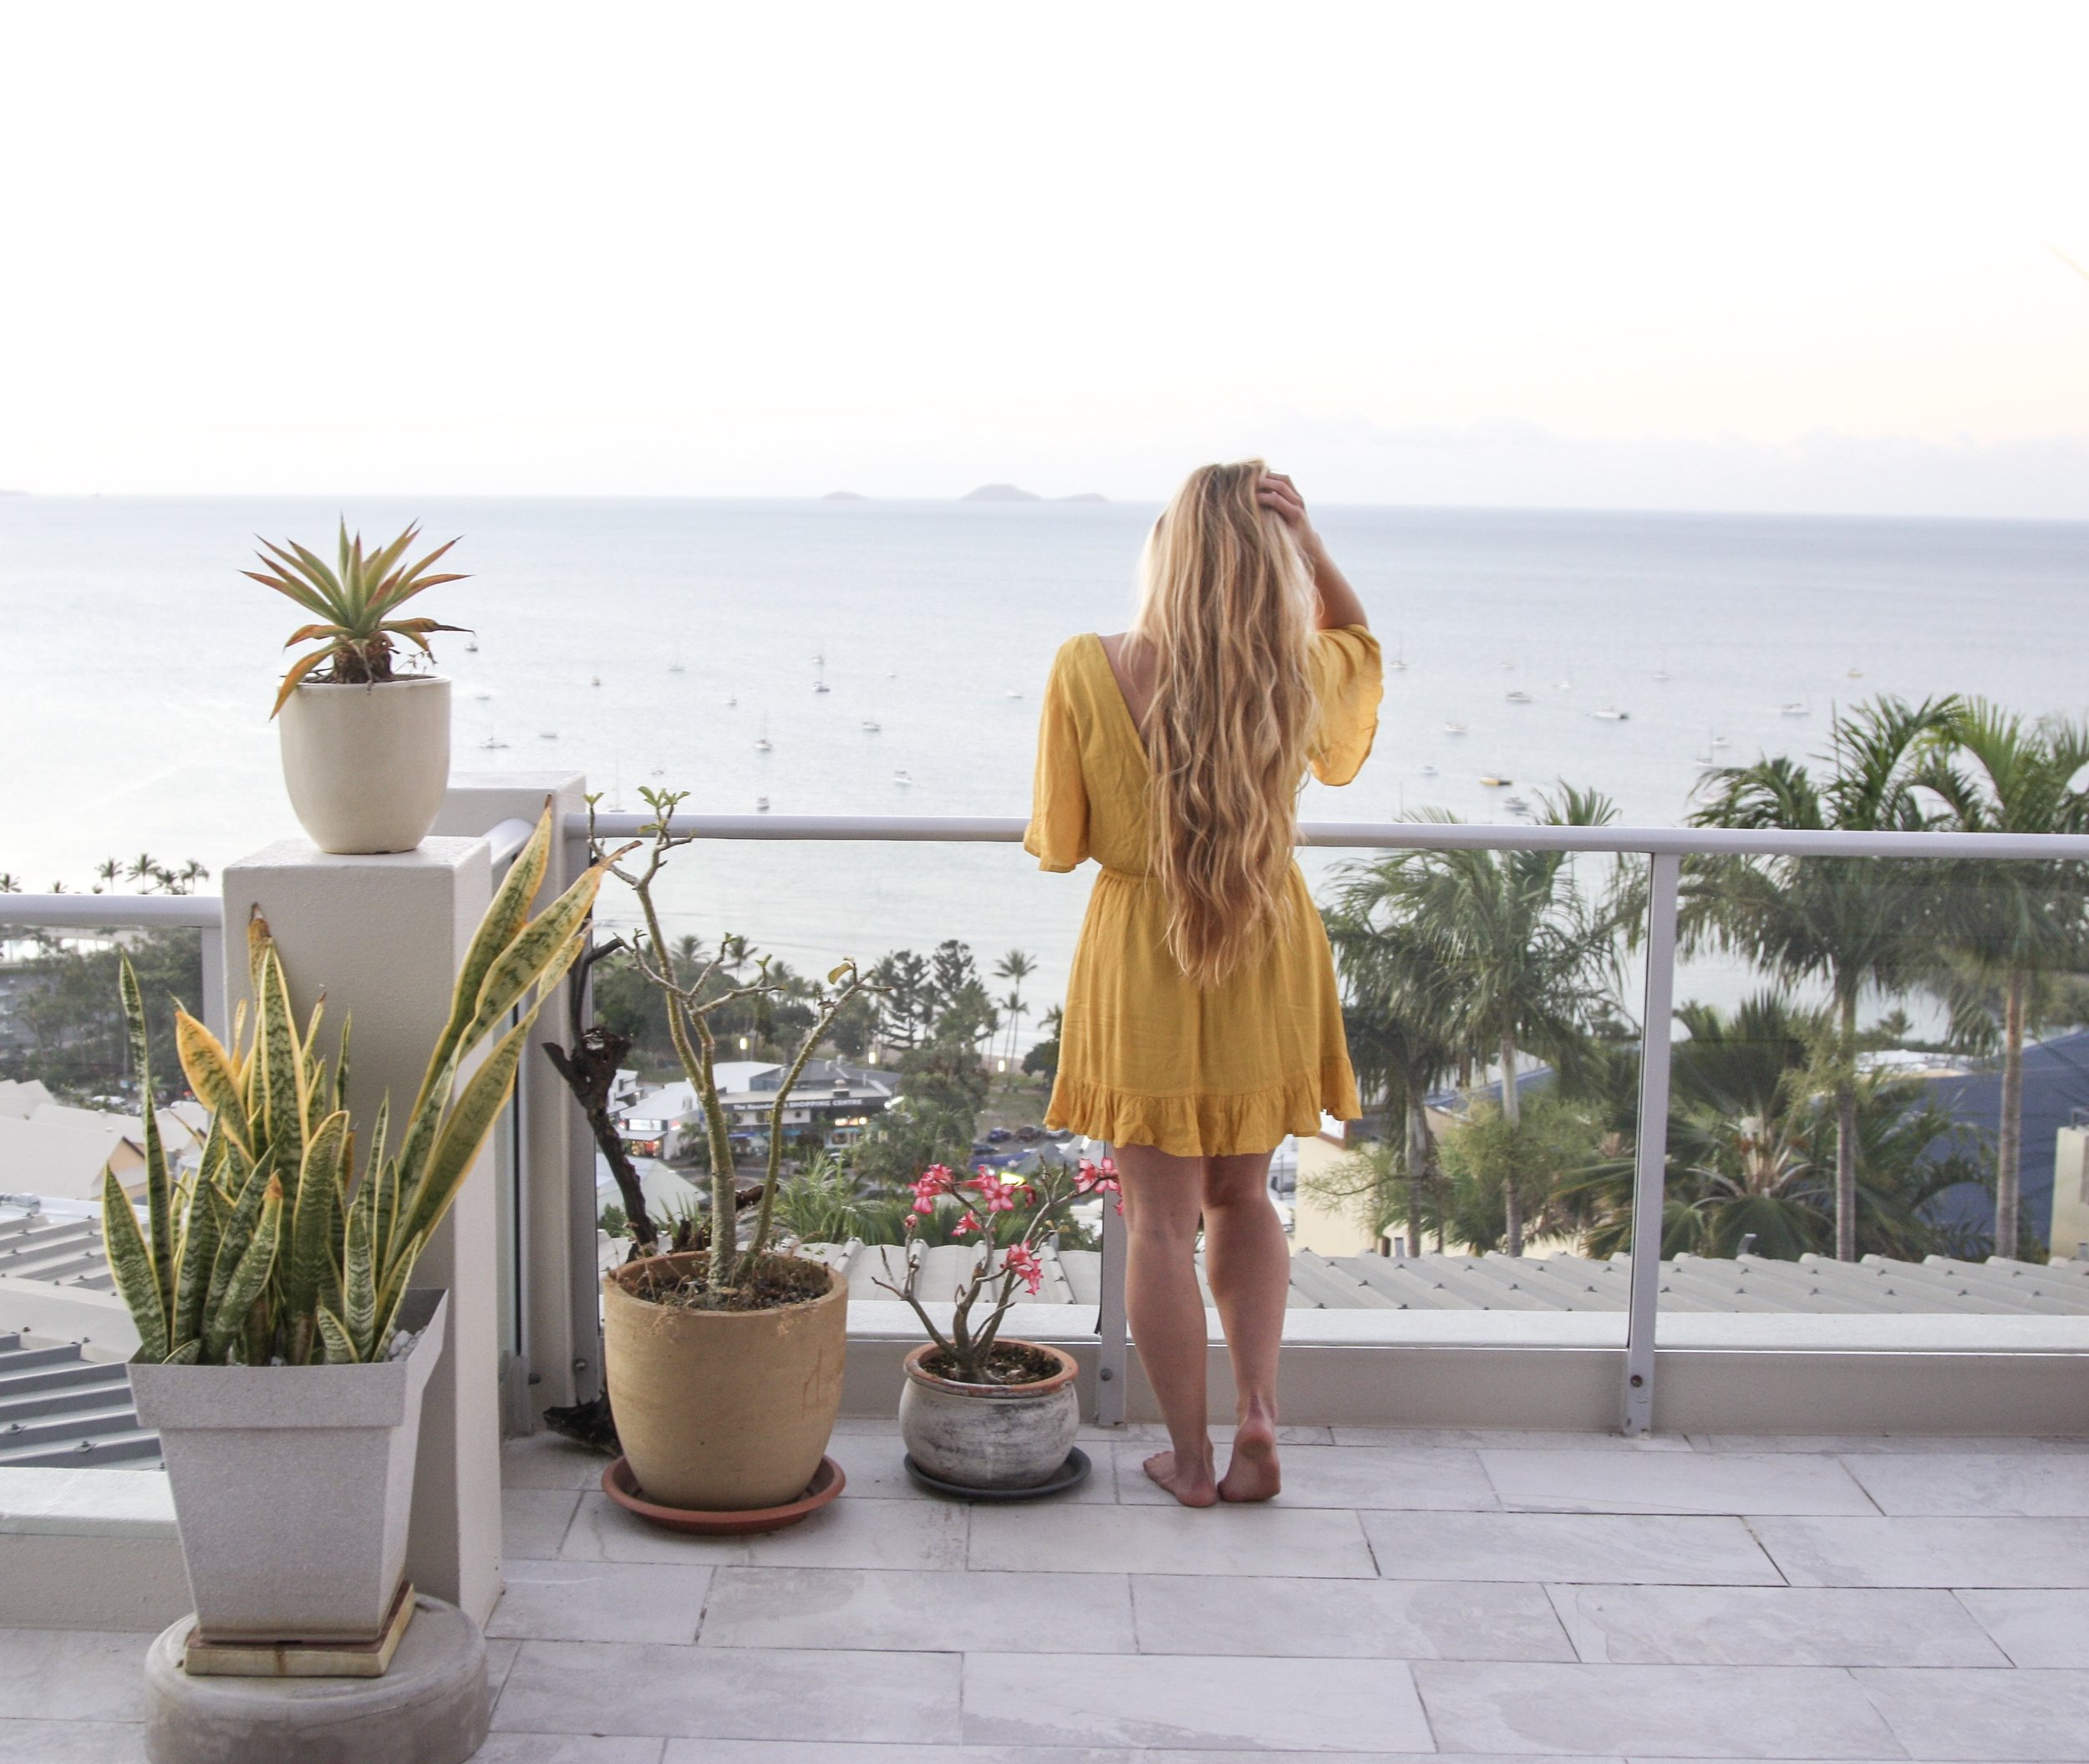
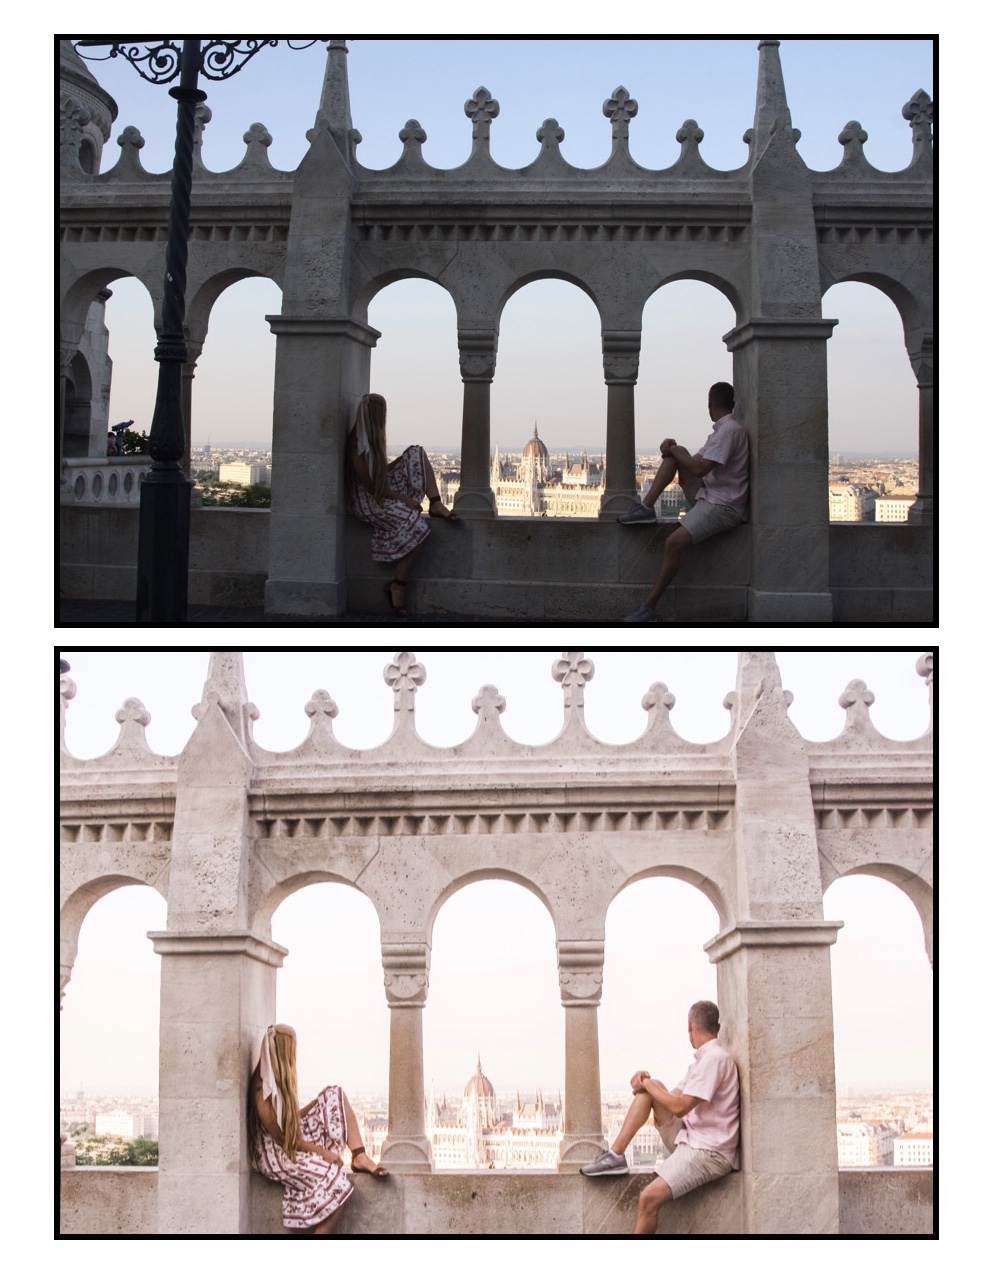
Below is a photo that I edited in Lightroom using the above edits. It was taken in bad lighting, so I increased the exposure more than I would usually on most photos. I also upped the tint quite a bit because I wanted it to have a soft pink feel!
I hope these tips will help you take better photos whether you are traveling solo or as a couple! I love the challenge of trying to find a good shot for a neat picture that shows the both of us candidly as we are traveling. Let me know if you have any questions about the process! Happy traveling!
xoxox
Kayla