
HOW TO: Pack In Only a Carry-On Bag

Well this post has been in the works for LITERAL YEARS— but I think this will be such a useful guide for any trip, for any length of time, to literally anywhere.
John and I learned very quickly that the cost of checking a bag is expensive, ESPECIALLY if you are going to multiple destinations and flying in between multiple cities. Checked baggage can be anywhere from $30-$80 EACH WAY…. and if you’re like us and traveling in one area for multiple weeks— that ADDS UP!
Therefore, we mastered the art of packing everything we need for 2 weeks to 1 month—(or honestly longer) all in a carry-on… and I am still able to look stylish all while being comfy. I very rarely re-wear the exact same outfits on these trips, because I plan out different combos to make new outfits each day with the same pieces.
Ahem….. I plan it out the night before. I am sure you read that word plan and imagined me weeks before planning each detail and outfit and that is not the case lol. PROCRASTINATION STATION OVER HERE.
But don’t be like me. Be better.
Our luggage typically weighs about 30-40 pounds depending on where we are going. South East Asia was on the lighter end, and then Australia was on the heaviest end…. just because of weather and temps.
By far, the hardest packing we have ever done was to Australia + New Zealand in our summer (their winter). The areas we were going ranged from freezing temps, to 60’s, and then all the way to upper 80’s.
So, if we can pack for 3 weeks in a small carry-on with hats, gloves, coats, bathing suits, dresses, light jackets, etc… then you can do this for ANY PLACE. I am always flabbergasted at the size suitcases people bring— like what do you even have in there?!?! LOL

Wanted to throw it back a little here with our first big month-long Europe trip back in 2014 when we were young and fresh. lol
Anyways— without further ado, here are my steps to packing light— well, not really light… more like small, packing small… we’ll go with that.
STEP 1: The Bag.
Buy a good quality rolly suitcase, carry-on size. I prefer one that expands just a little, so you can really stuff it full. This one HERE is similar to mine.
You can also use a travel backpack instead of a rolly carry-on. This is the osprey backpack I have HERE.
Yes, I know they both look very small. But I believe in you. I promise you can fit EVERYTHING you need in there and more…. seriously.


STEP 2: The Cubes.
Order packing cubes RIGHT NOW— found HERE. These things will change your life. I use them every time we go anywhere. Not only do they keep everything organized inside of your suitcase, they help you stuff your clothes in odd shapes to fit all that crap in there.
They are life savers— especially in backpacks because it can be hard to find anything if you don’t have them. They also keep everything organized and you can just throw them in a drawer at the place you are staying.
When you are on the move as much as us, this is super critical to stay organized.

John got the gray ones and I got the blue ones… we mix and match them depending on what size we need.
STEP 3: The Cosmetics.
Purchase a compact cosmetic bag that hangs. One similar to the one I have is HERE. Another one HERE.
Our cosmetics are very minimal and you will have to purchase all of your cosmetics in travel size or convert them into travel size. The airport regulation is 3.4 ounces or less per item... I just buy the small bottles and make my own travel size of anything we might need.
In this cosmetics bag I fit all of the things we will need for about two weeks. If we are traveling for longer, we just buy things along the way when we run out. Keep in mind, that some things aren’t easily found abroad. I always pack enough dry shampoo to last me the whole time (usually 2-3 small bottles), this amazing bug repellent (if you are going somewhere with mosquitoes), tampons, contact solution, wrinkle release, and random necessities like that.

I have literally had this bag since I was 15 haha!

It is very compact but holds everything we need.
I won’t lie to you, I am very low maintenance when it comes to travel + beauty. My makeup bag is below. It is very small and I only bring the essentials.

This tiny bag hooks to the bottom of the cosmetics bag.

**PRO TIP: use a contact case and put your foundation into it. This is so much more compact than lugging a foundation bottle around. Using both sides lasts me for over a month.

it looks gross… but very handy haha!
I do not bring a blow dryer. I let my hair air dry— or I pray that the hotel/hostel/airbnb have one if I am in a time crunch. I don’t wash my hair often— so it’s not a huge issue. The only time that I do is if we are at a beach destination— then I have to wash it a lot more, but again if it’s a hot location I just air dry it.
If you definitely need a hairdryer I would recommend a small one like this one HERE, or just be sure to book accommodations with one. I do usually bring a curling wand— but these are small and thin and can go in the bottom of my suitcase/side of my backpack.
STEP 4: The Packing.
Procrastinate the actual packing until the night before———
JUST KIDDING DON’T DO THAT.
SERIOUSLY… DON’T DO THAT. (I was just making sure you were still paying attention.)
That’s what I do, and then I have a panic attack, and I totally stress myself out, so let’s make your life easier than mine. LOL
Plan things out in advance… however far in advance that makes you comfortable. Put all of your packing cubes on the floor and designate one for each type of clothing…. one for under garments/bathing suits/camis/etc. (smaller cube). Then designate one for dresses, pants, full outfits, etc. (this will be in your biggest cube). Then designate one for bulkier things like jackets/heavy stuff if you’re going somewhere cold (also big cube). Do whatever makes sense to you. Having a clear system for where things go will make life easier when traveling and packing up each time.
There have been times John and I are traveling and we literally are packing up and changing locations every 2-3 days for 3 weeks straight. It is a huge headache having to pack up and unpack, pack up and unpack— so having a system in place makes things a lot easier…. it’s still a huge pain, but it definitely makes it better.
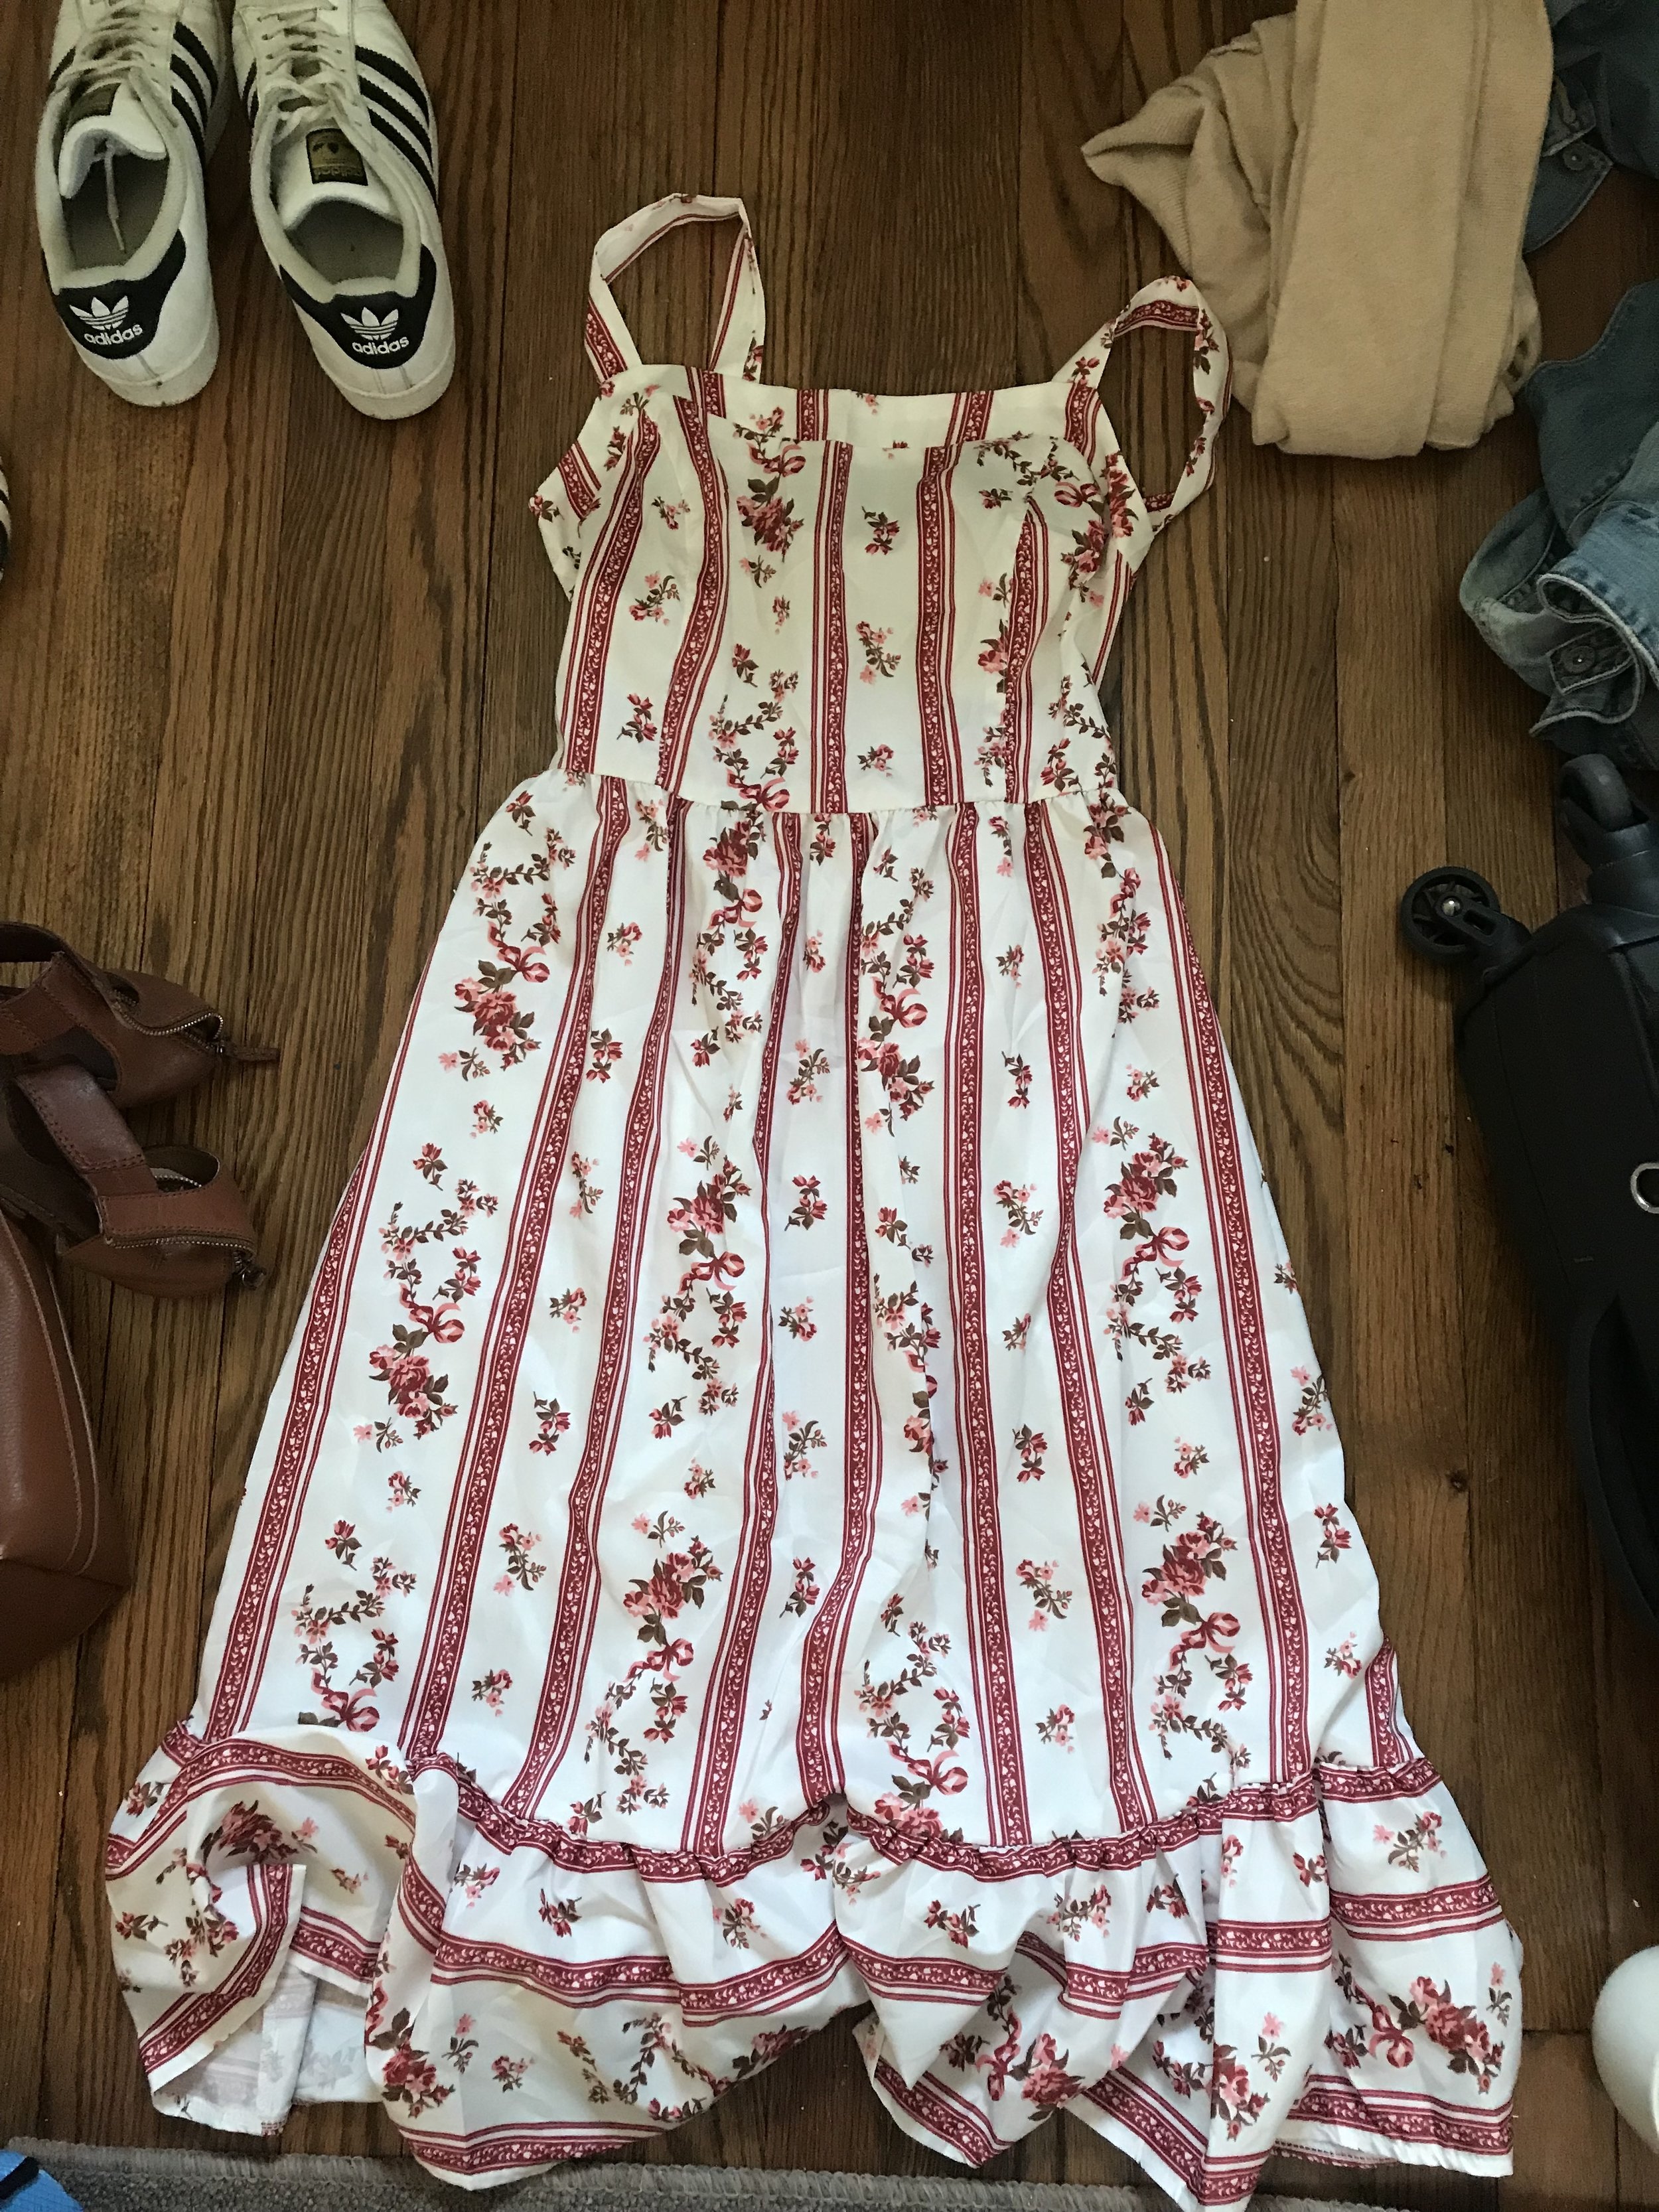
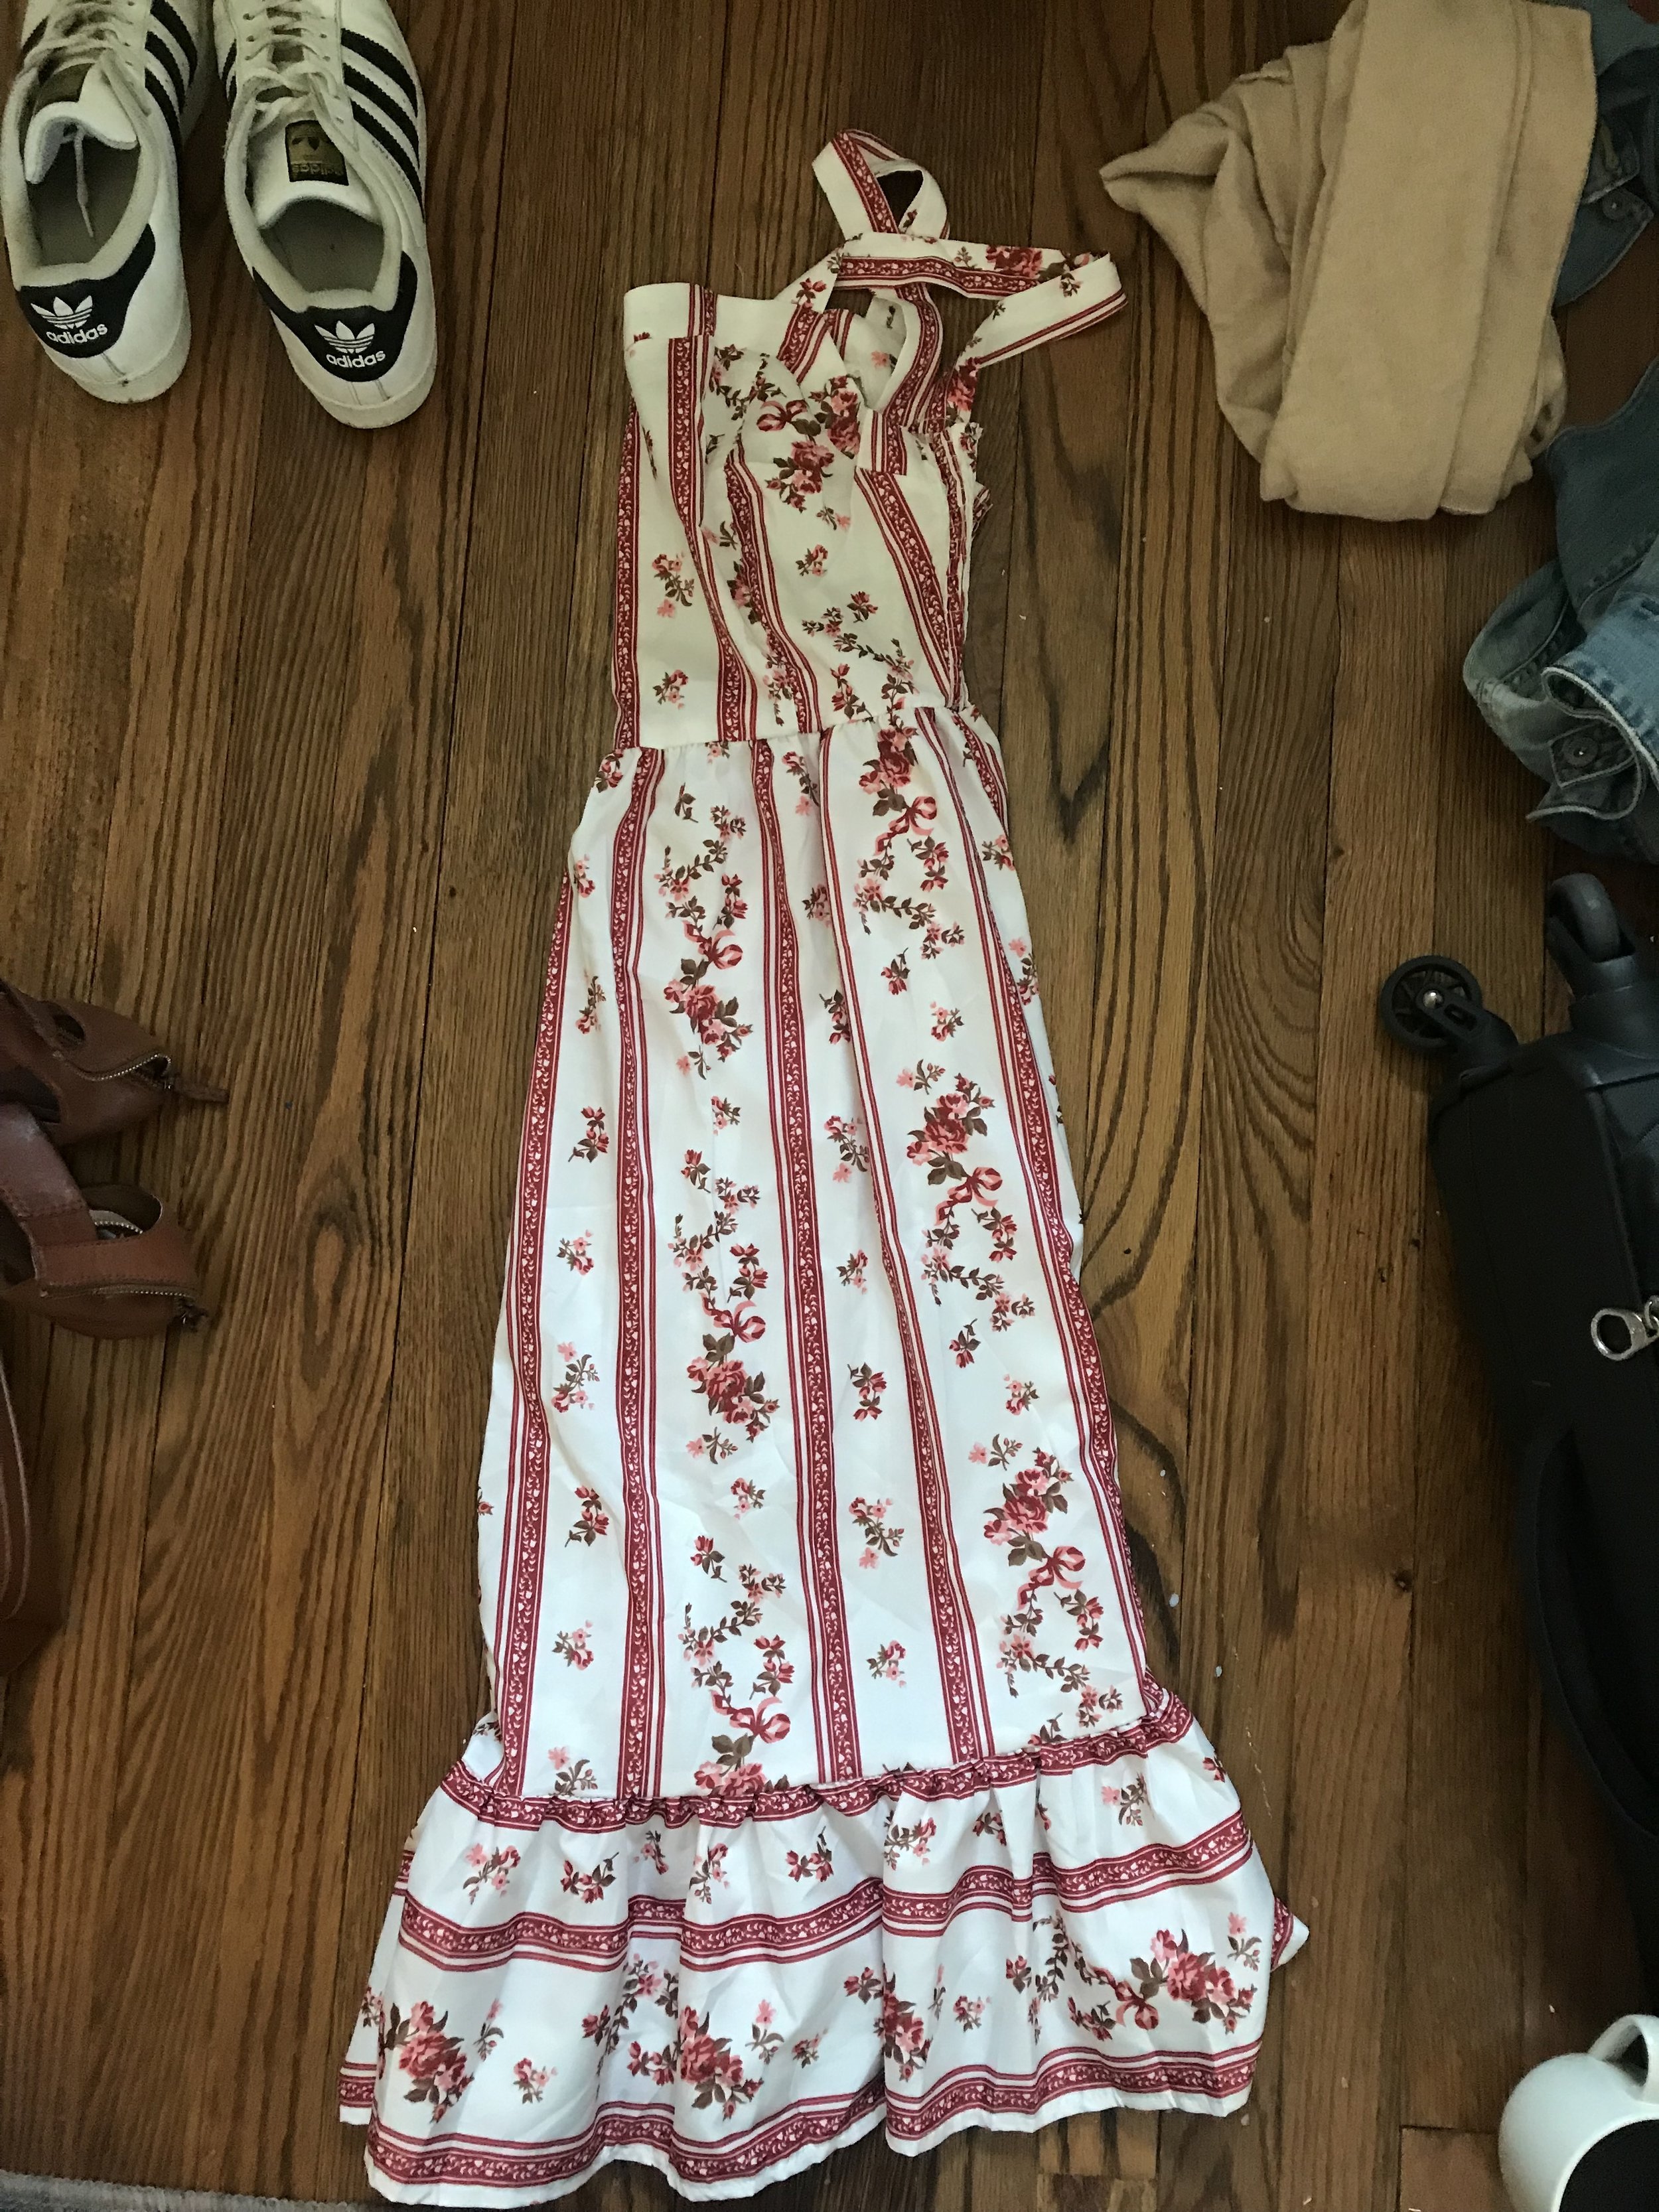
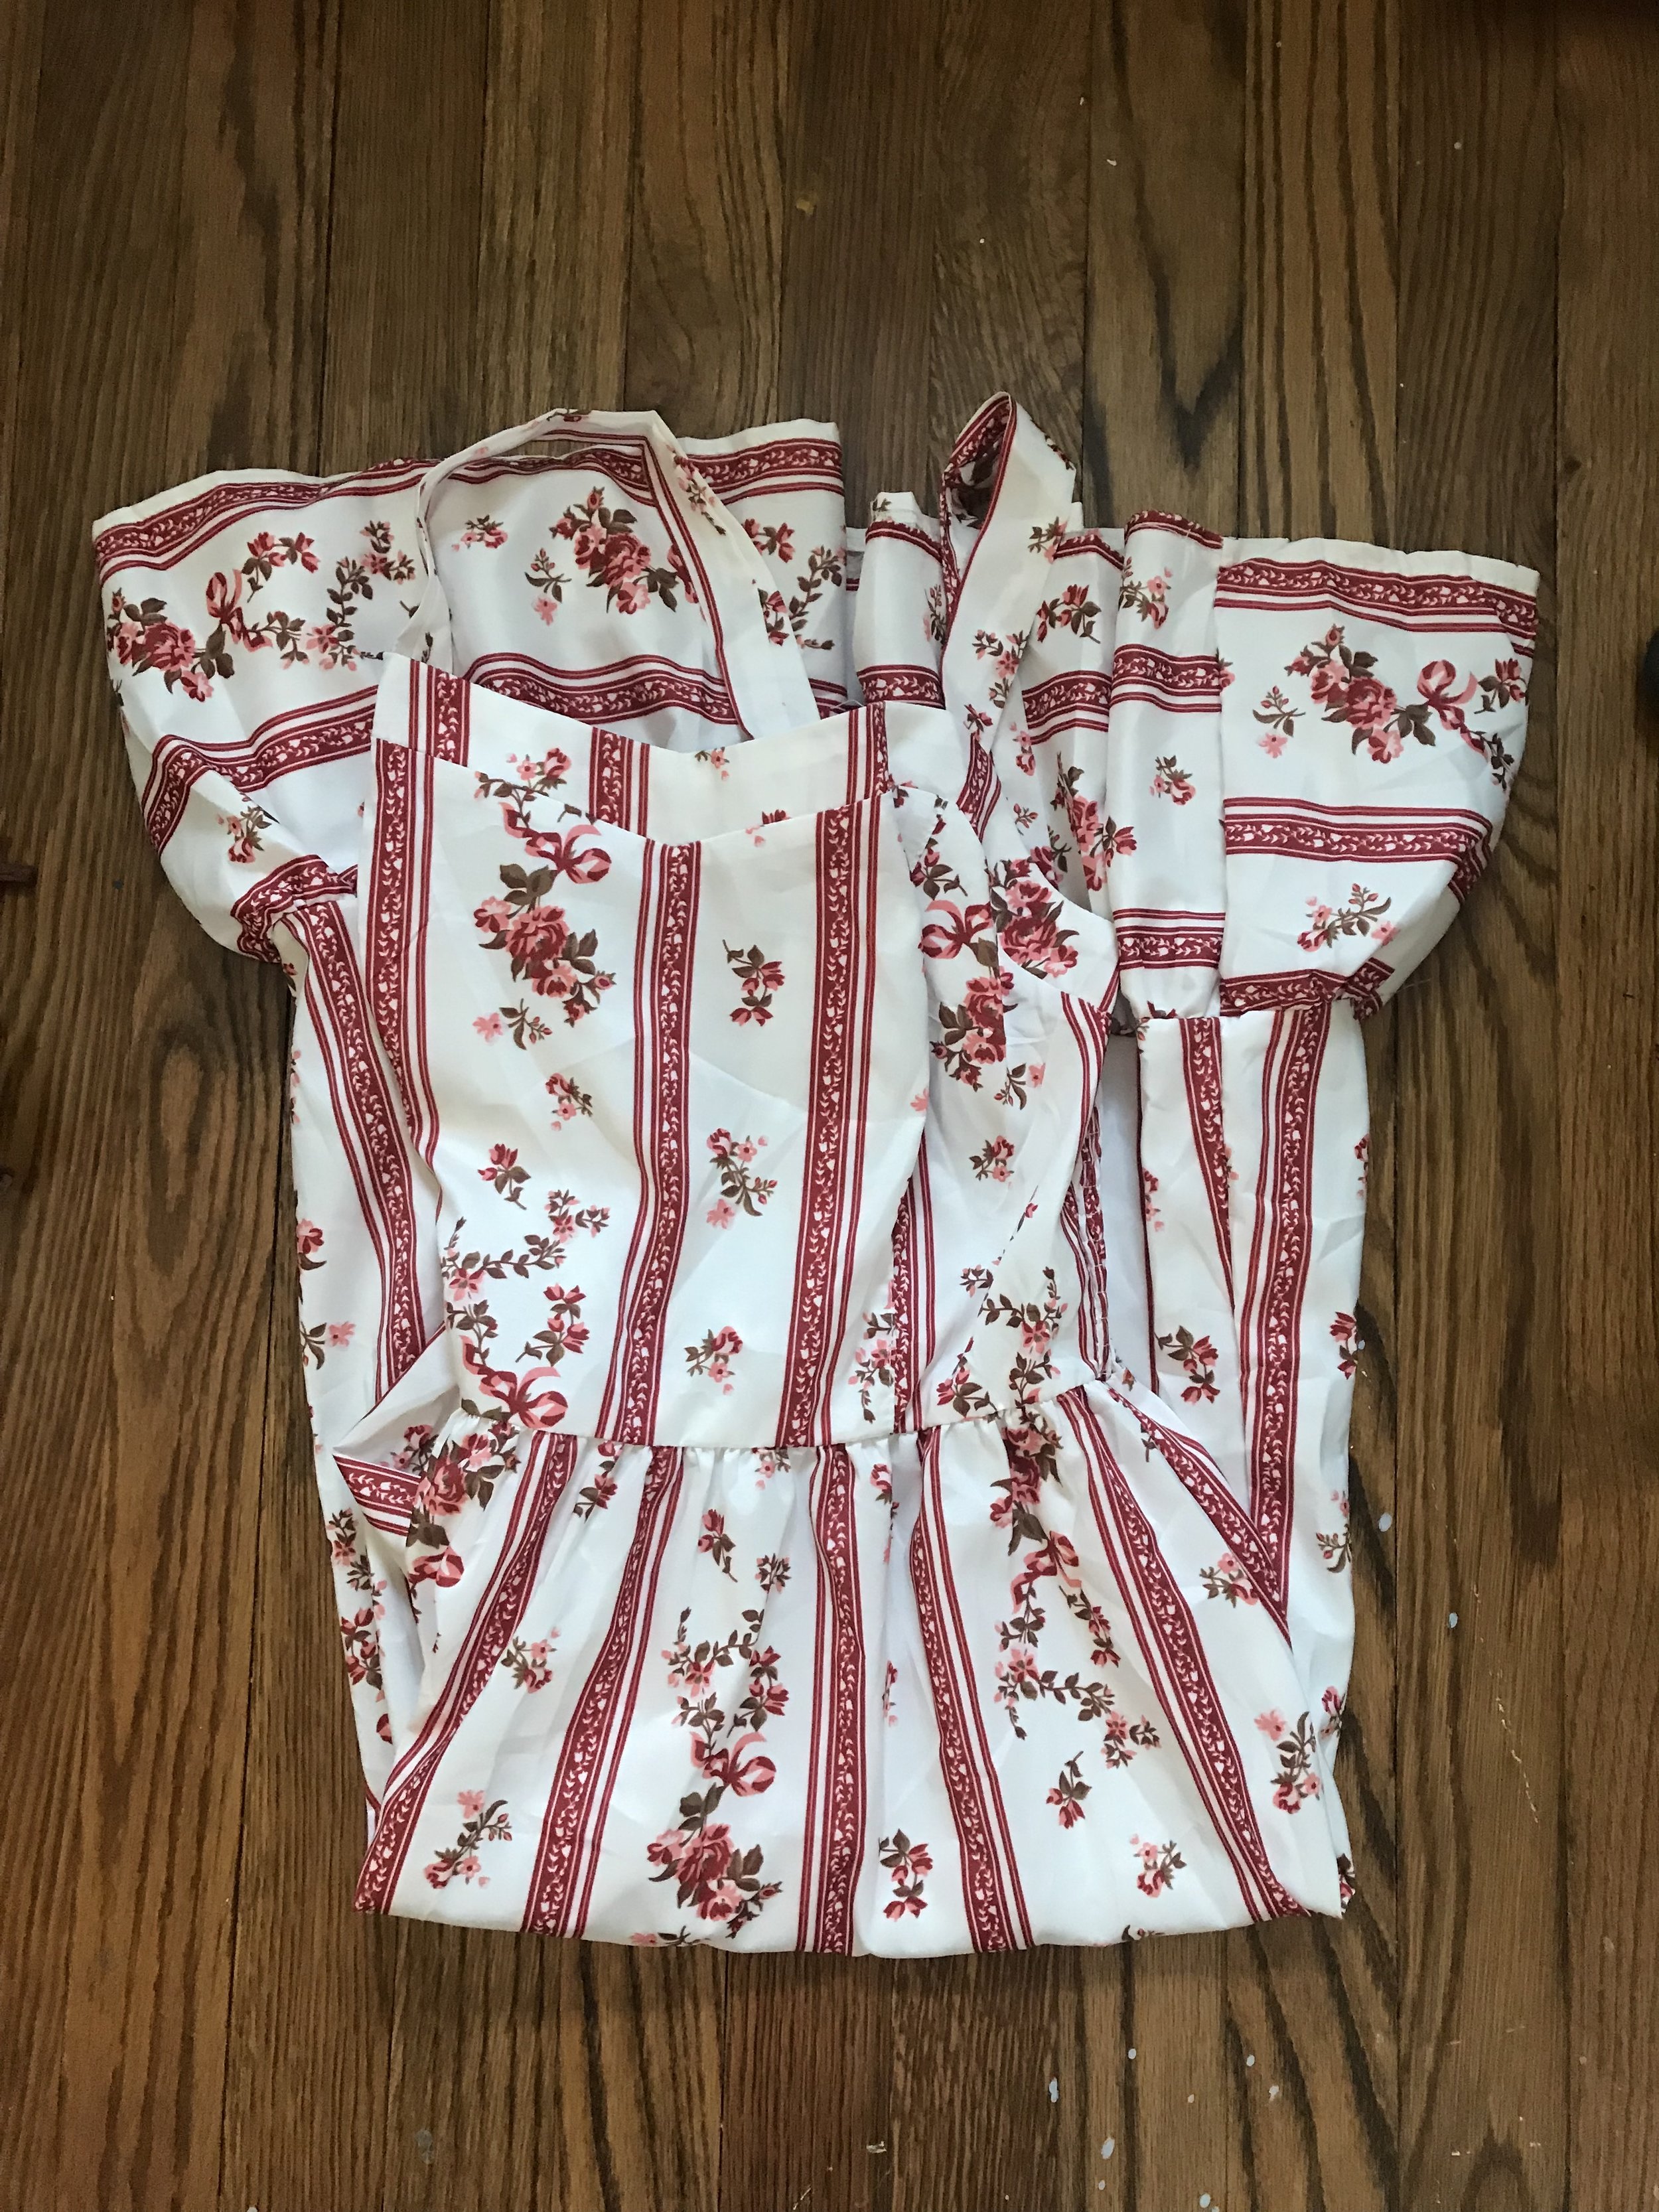
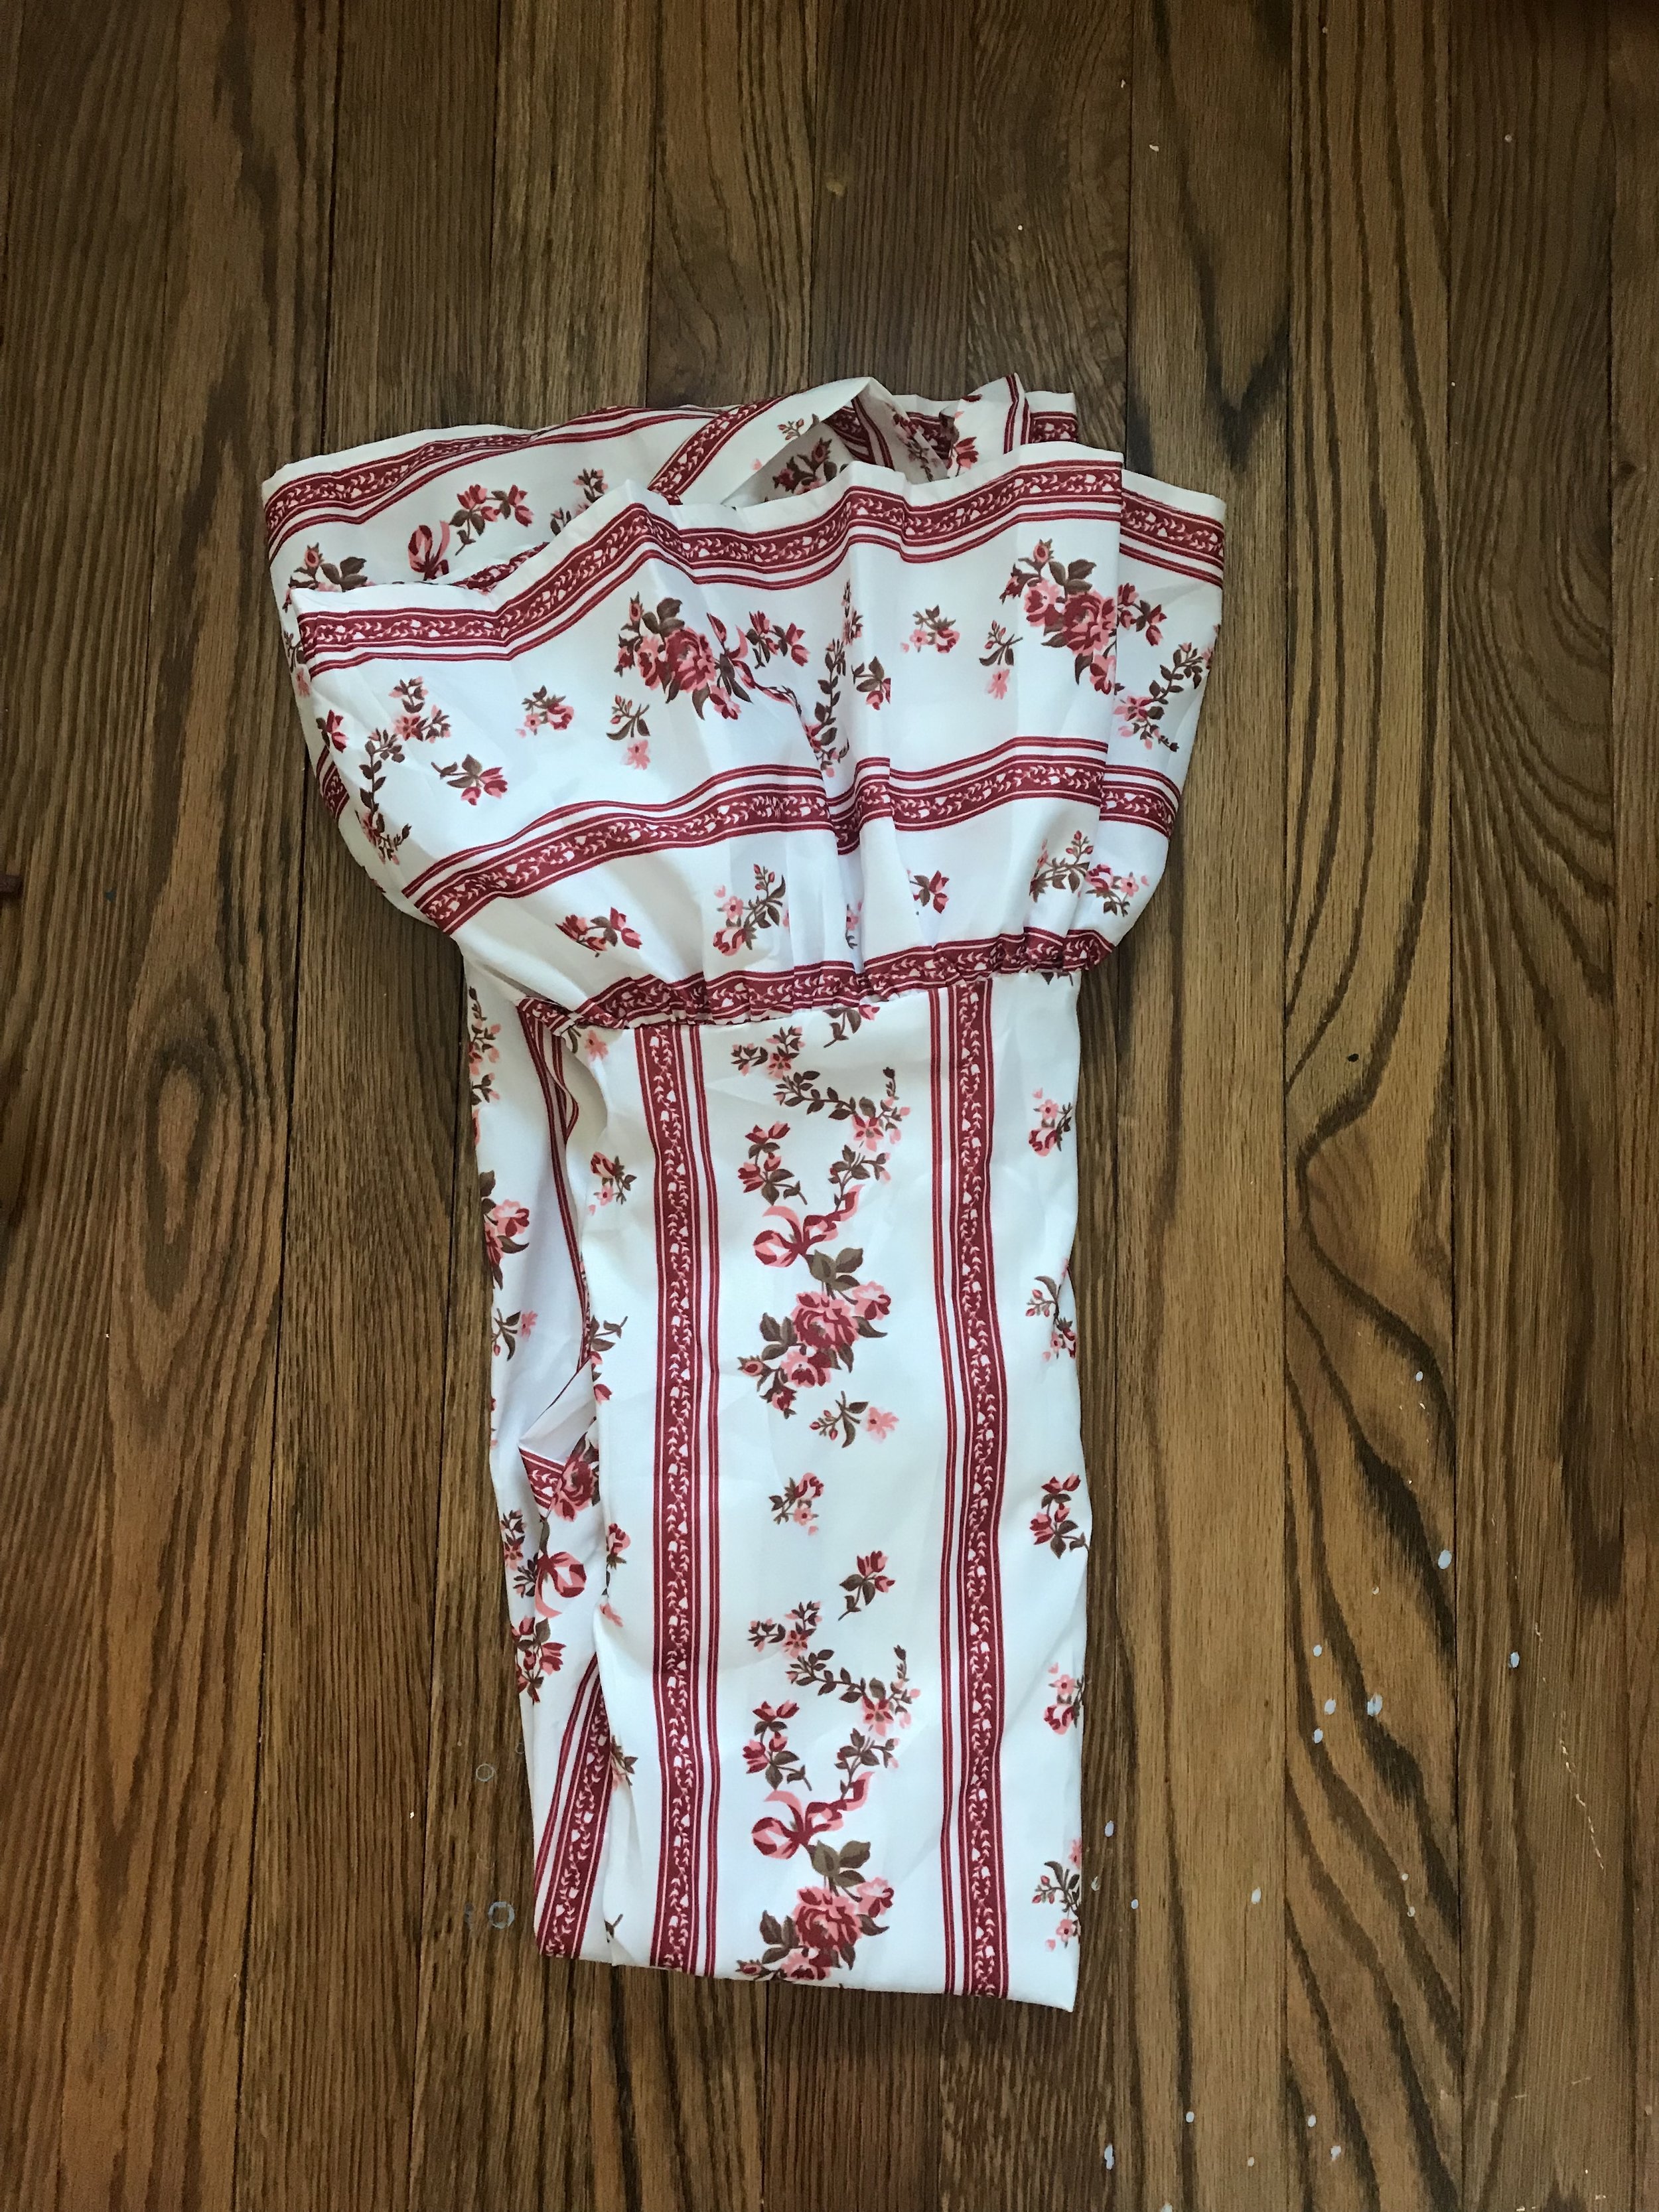
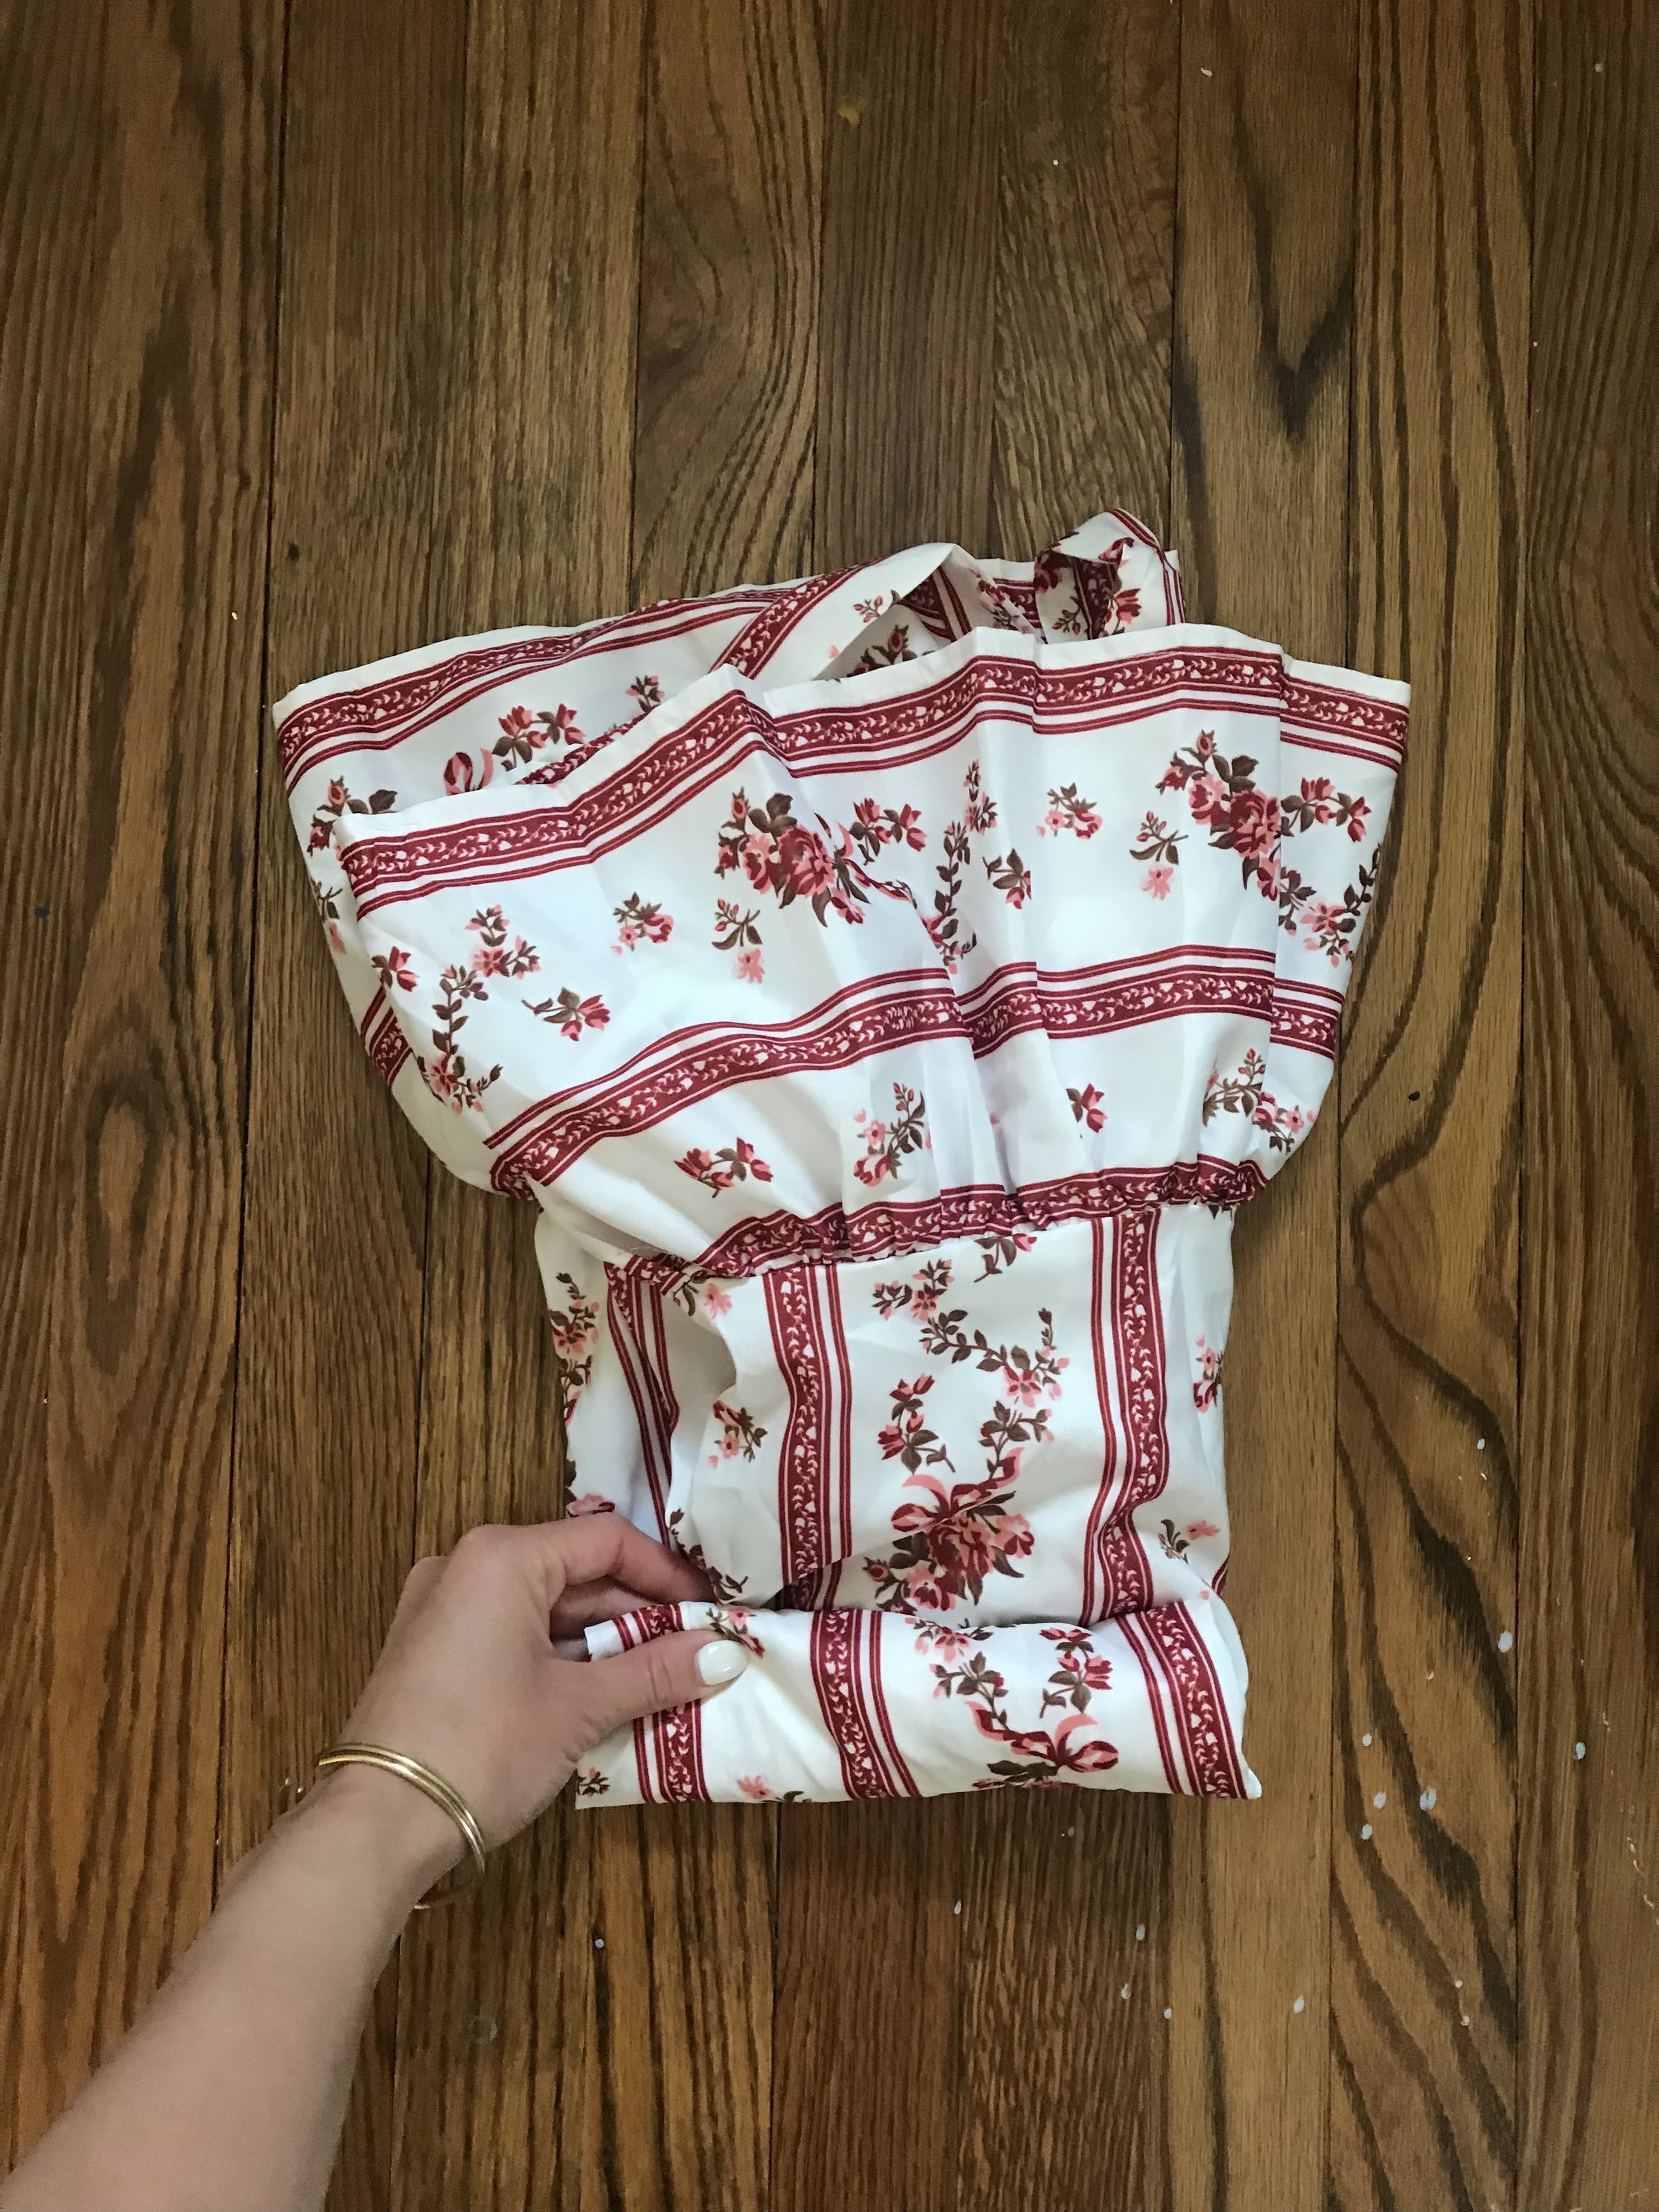
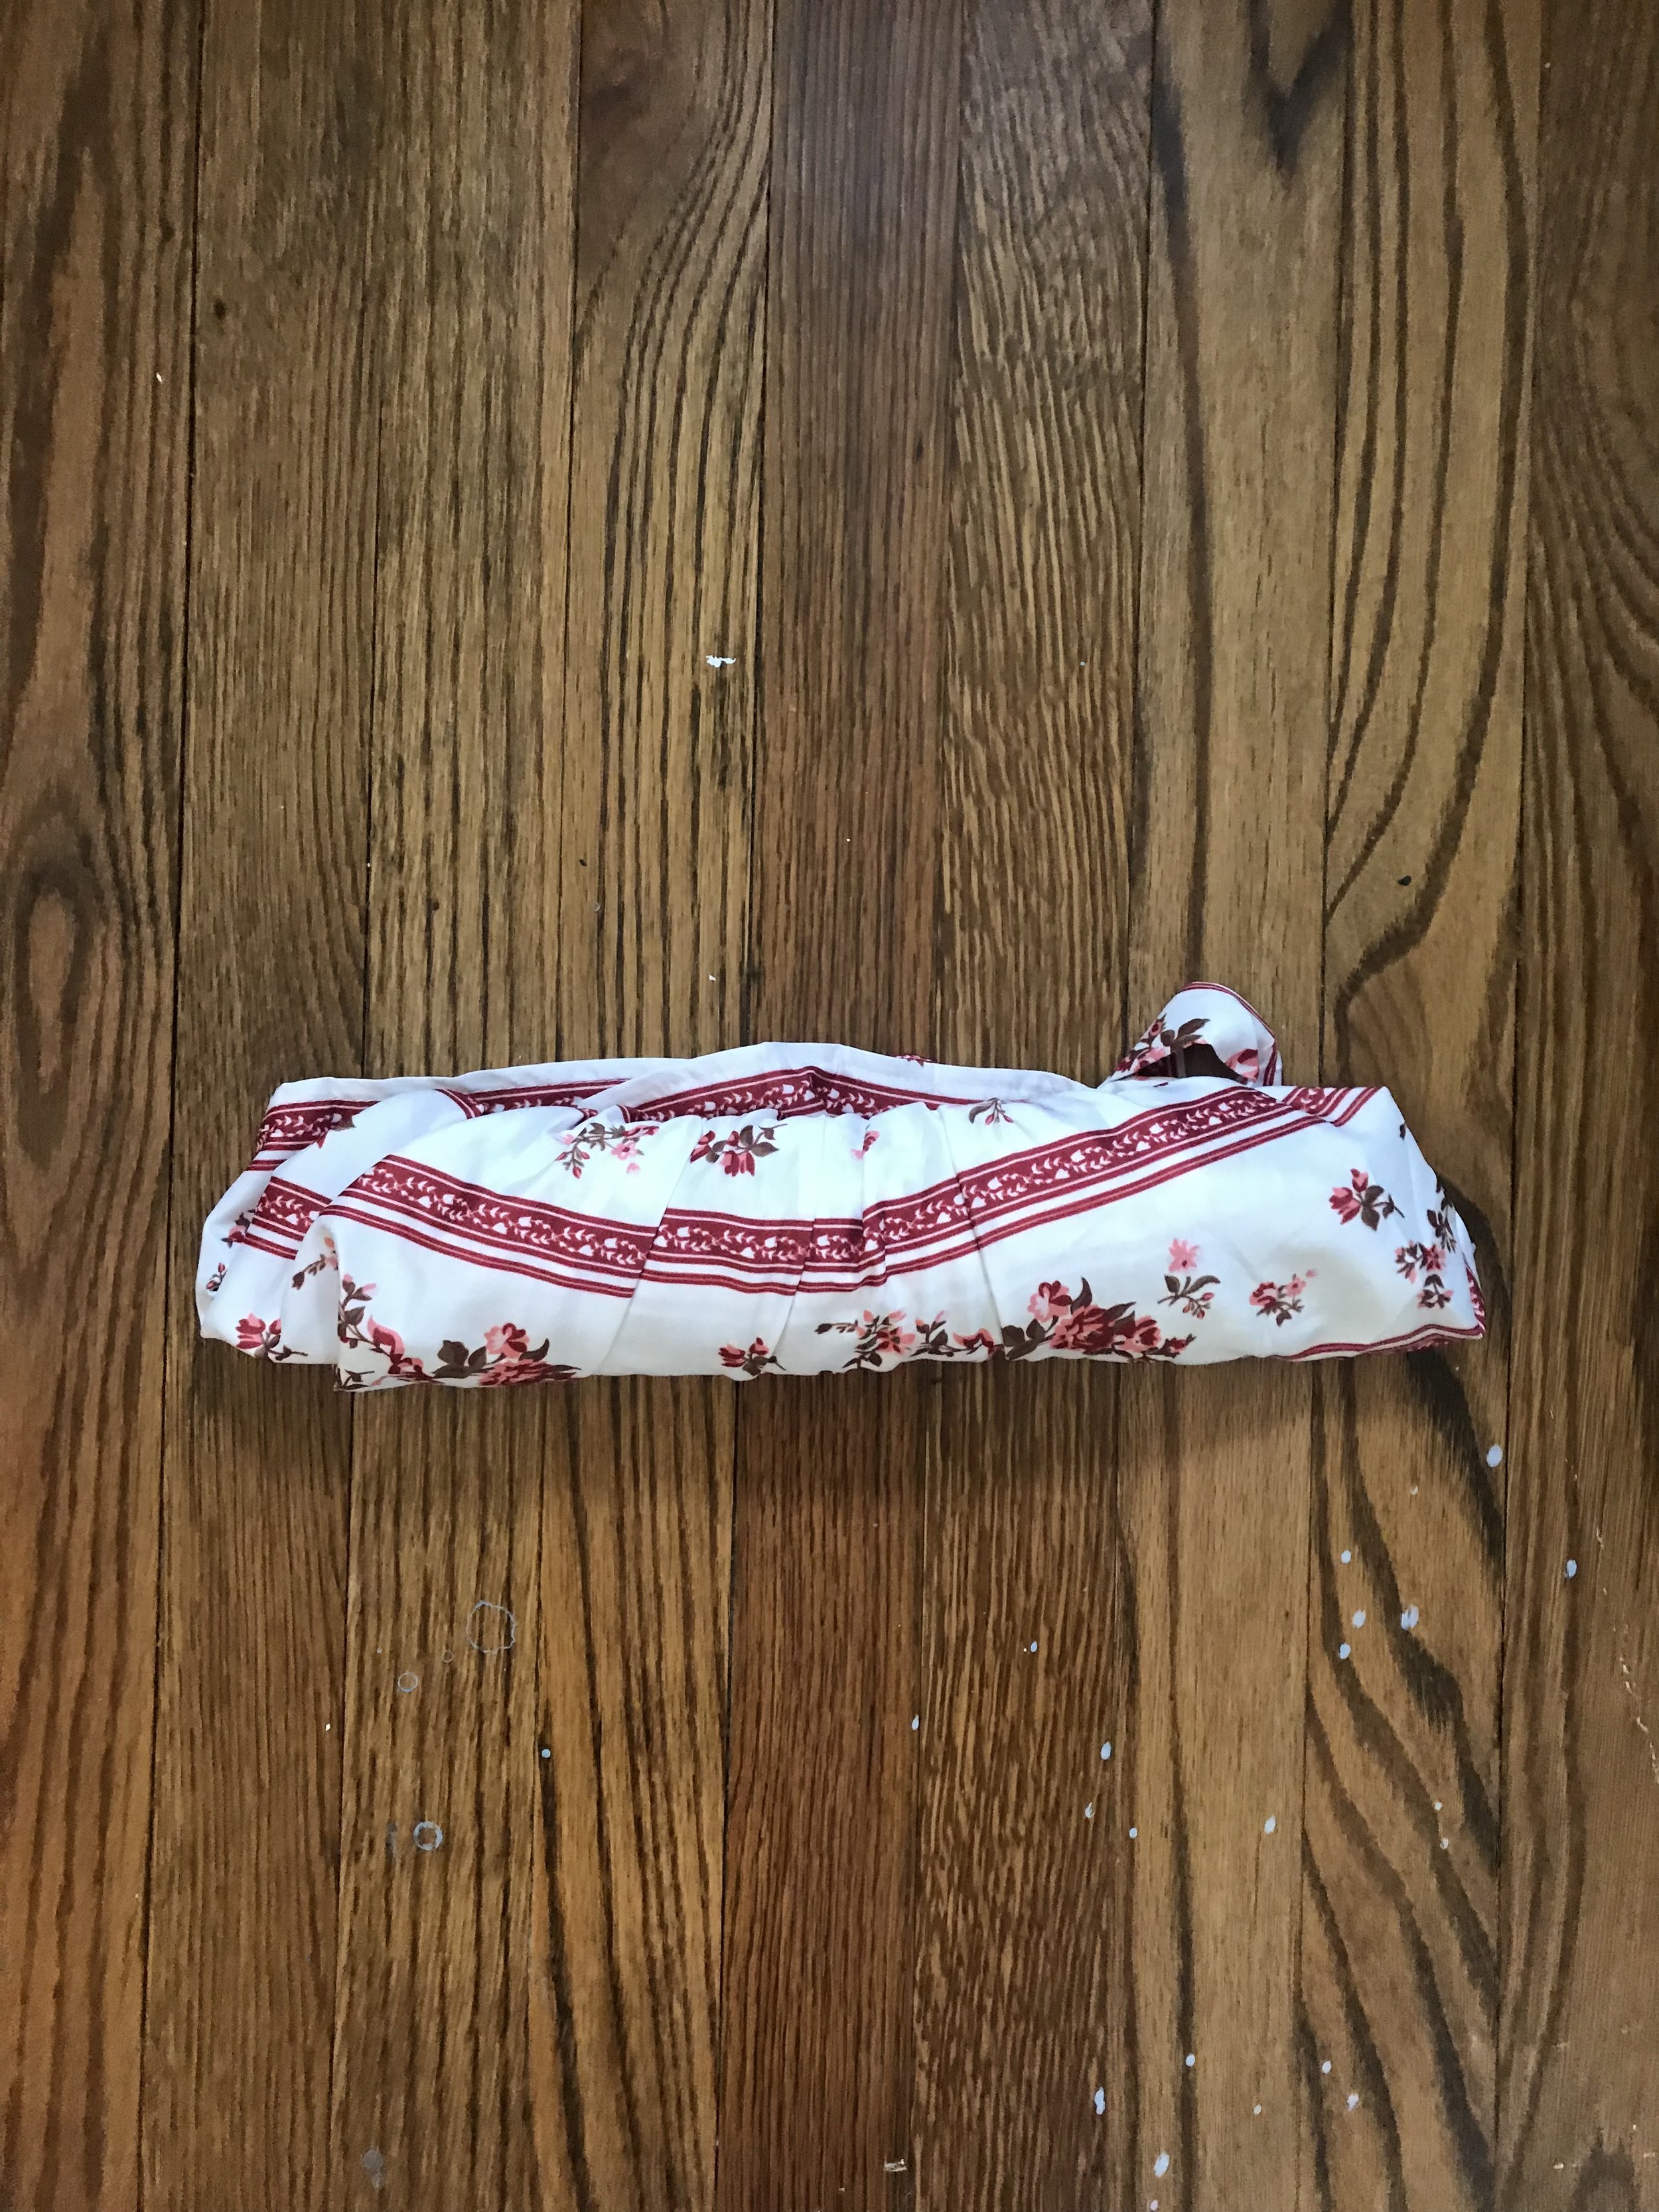
Once you have a clear system and organizational strategy, start to roll all of your clothes. This will keep your clothes a little less wrinkled and will also conserve space.
Then start adding them into each cube until it is pretty well filled, as seen below.

bathing suits and undergarments.

basic shirts and shorts.

dressy tops, dresses, cardigan, jeans, etc.
** NOTE I always put full outfits in one, so I only have to open one or two at a time. I used to separate everything… pants in one, shirts in a different and then I had to open so many to just make one outfit. I have gotten smarter through the years.
STEP 4: Part A: What to Bring.
For a 3 week Europe trip I usually bring about 10 light-weight easy dresses, 3 skirts, 4 t-shirts, 4 nicer tops/tanks, a few pairs of light weight shorts, one pair of jeans, 12 pairs of undies, 2 pairs of spandex/spanx to go under dresses, a cardigan, a jean jacket, 2 bras, a sports bra, 2 pairs of leggings, 1 pair of workout shorts, a pair of tennis shoes or converse or Adidas, a pair of sandals, a pair of flats, a pair of rainbows, sometimes a pair of wedges (depending on destination), 5 bathing suits, and a pair of jean shorts. SHEW— that really sounds like a lot— and somehow it all fits.
***NOTE: for abroad travel I hardly ever bring heels, but if I do they are these HERE. So amazing and comfy…
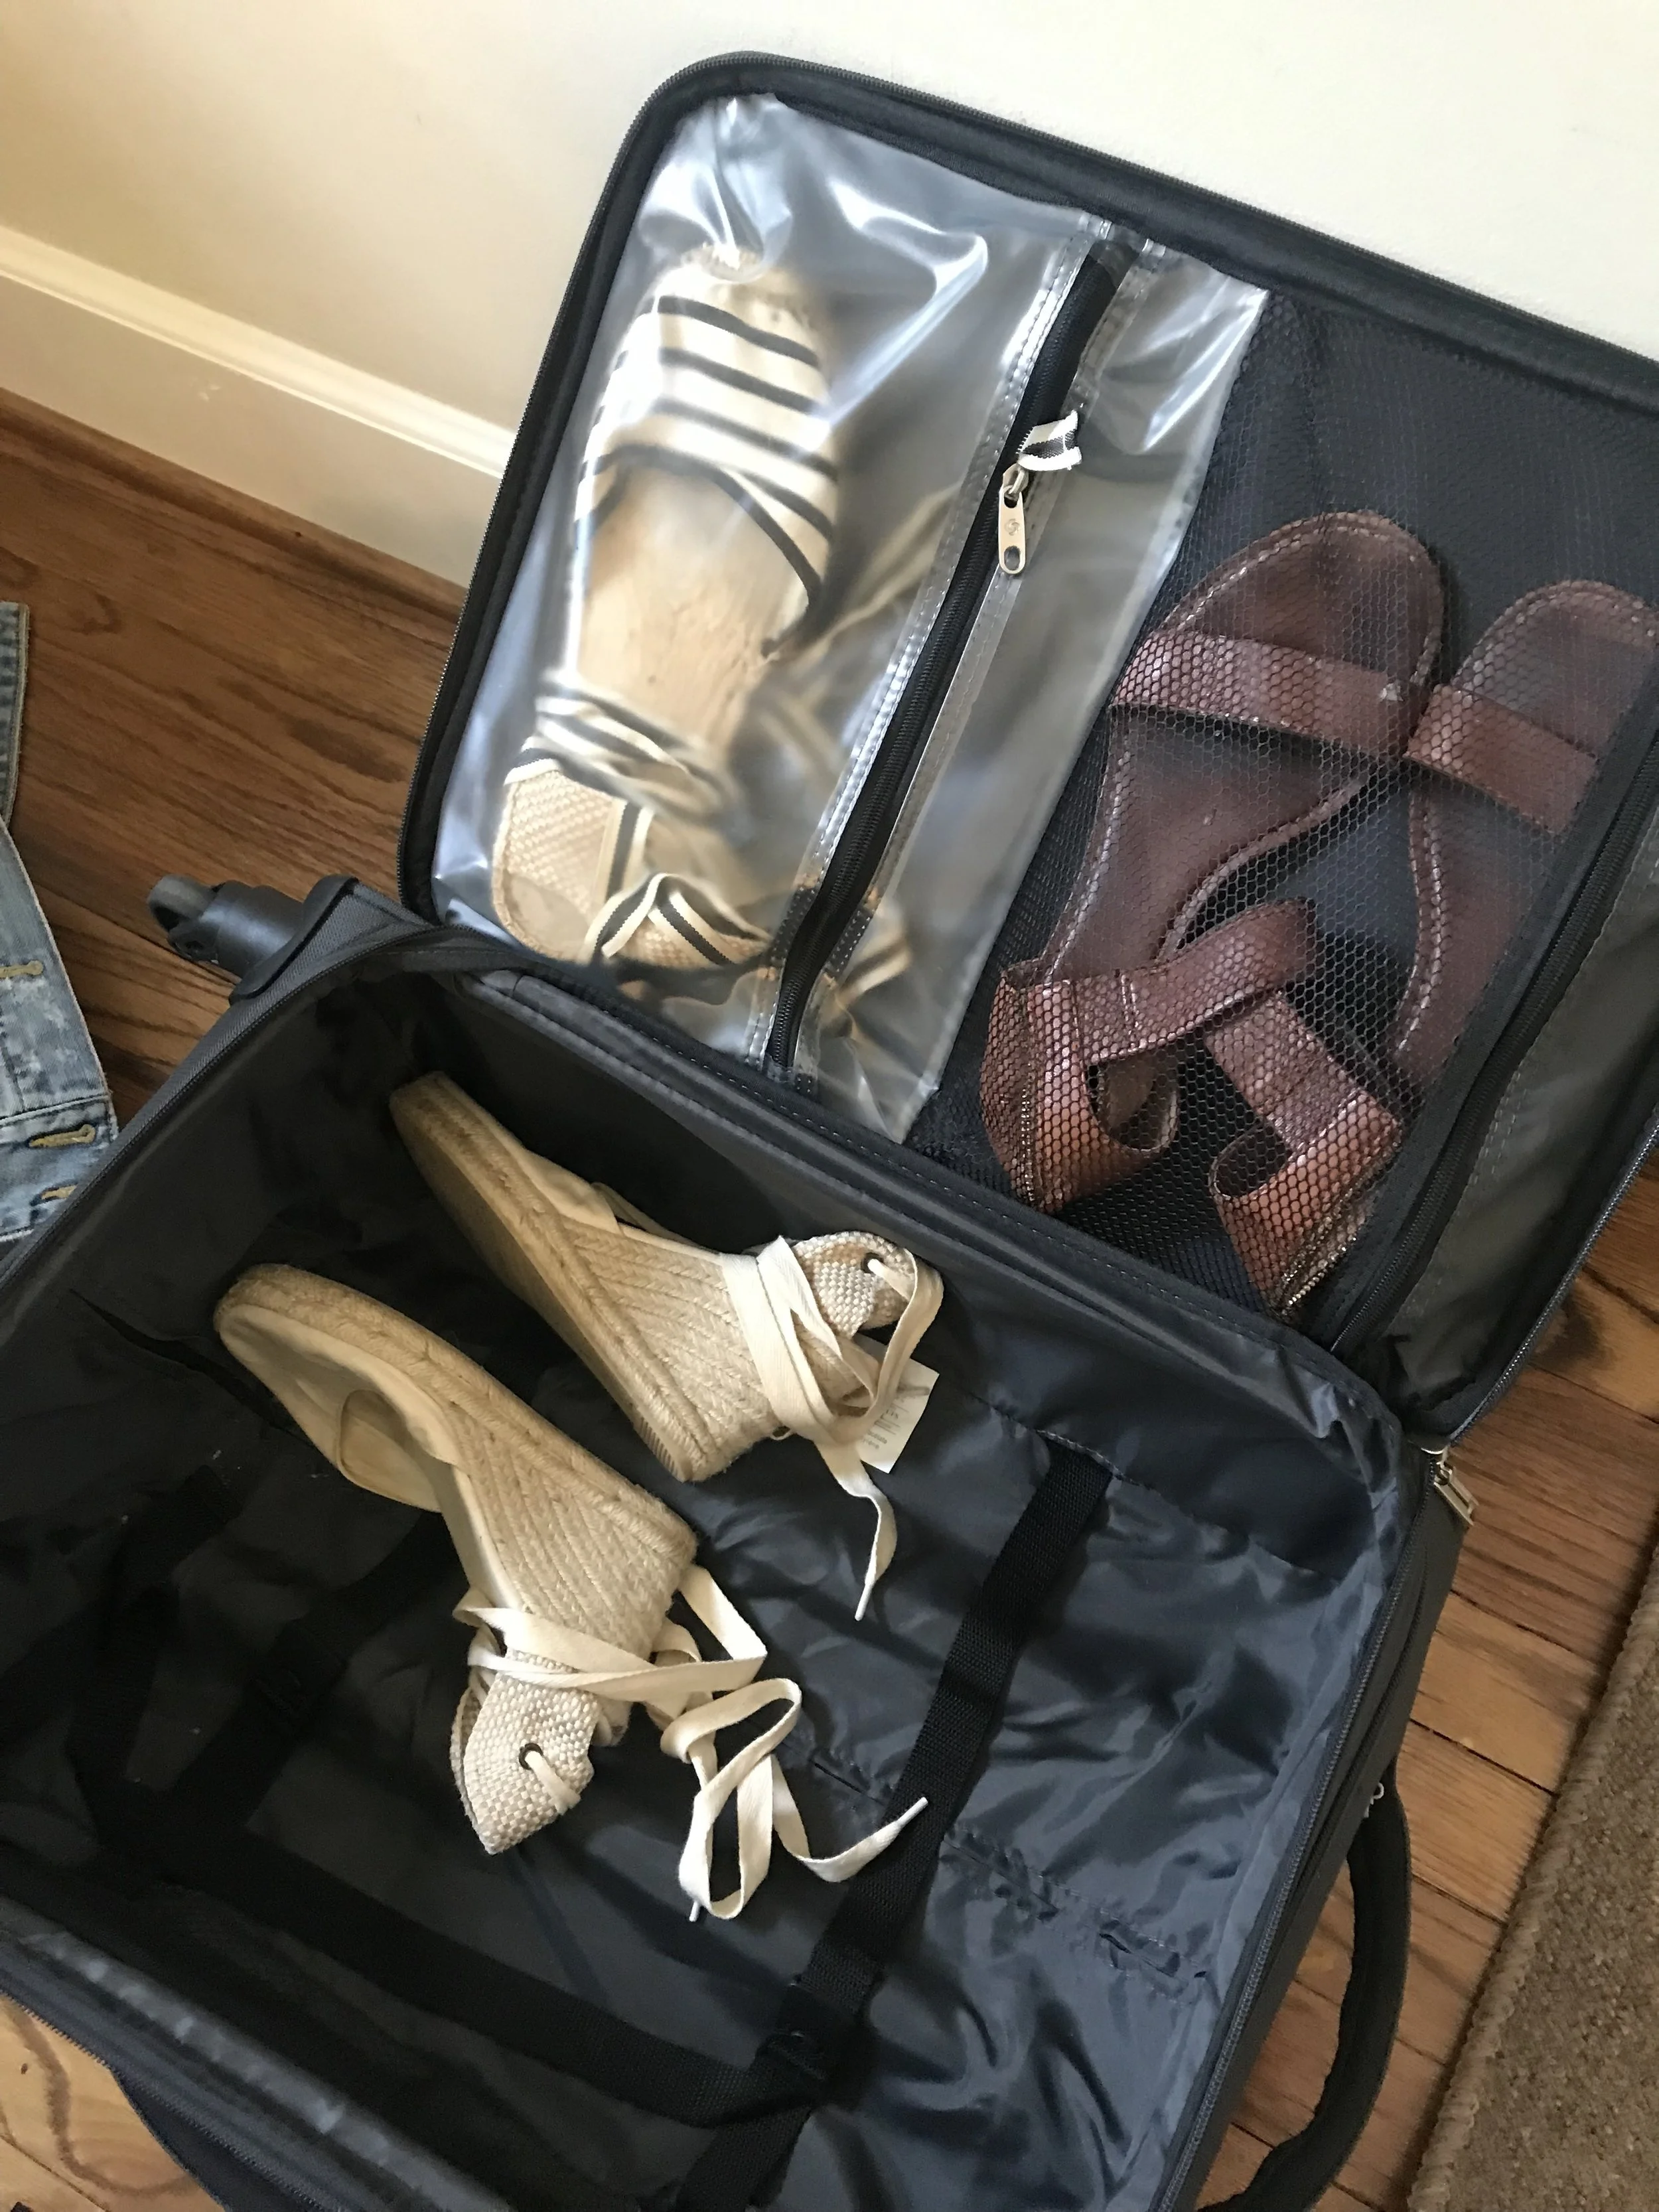
*** SIDE SIDE NOTE: I always bring rainbow flip flops like these HERE, leather sandals like these HERE and a pair of cute flats like these HERE are easily stuffed in the top zipper of the suitcase (all shown below). Those three pairs are my absolute ESSENTIAL shoes for travel. They have been all over the world with me and my feet never hurt. Highly recommend all three because they go with everything, look super stylish and are worth the splurge.
STEP 4: Part B: Packing the Bag.
Assemble the bag. I always put my curling iron on the bottom, my heavy or bulky shoes on the bottom and a thick coat (usually not necessary— but it was in Australia + NZ) on the bottom. I put the light weight pairs of shoes in the zipper part on the inside flap of the suitcase. If I am traveling with a backpack, I put the flip flops and shoes in the bottom zipper. Using a backpack does make the shoe situation a little tougher— so if bringing only a backpack I would forgo any heels. (Pictures for backpack packing at the very bottom)
*** NOTE: If you are going to a fancy location such as Vegas or on a beach vacay in which you need more pairs of bulky heeled shoes, it makes it tougher, but I have definitely still fit 2-3 pairs of heels in the bottom of the carry-on and everything fit.
Now that you’ve got all the heavy/bulkiest things on the bottom, you can start assembling your cubes. I usually only bring 2 large cubes and 1 smaller/medium cube depending on where I am going. Like shown, you can half them, stuff them and reconfigure in many different ways.


First big cube in.

Half it and push down.

Second cube in.

Also half it.
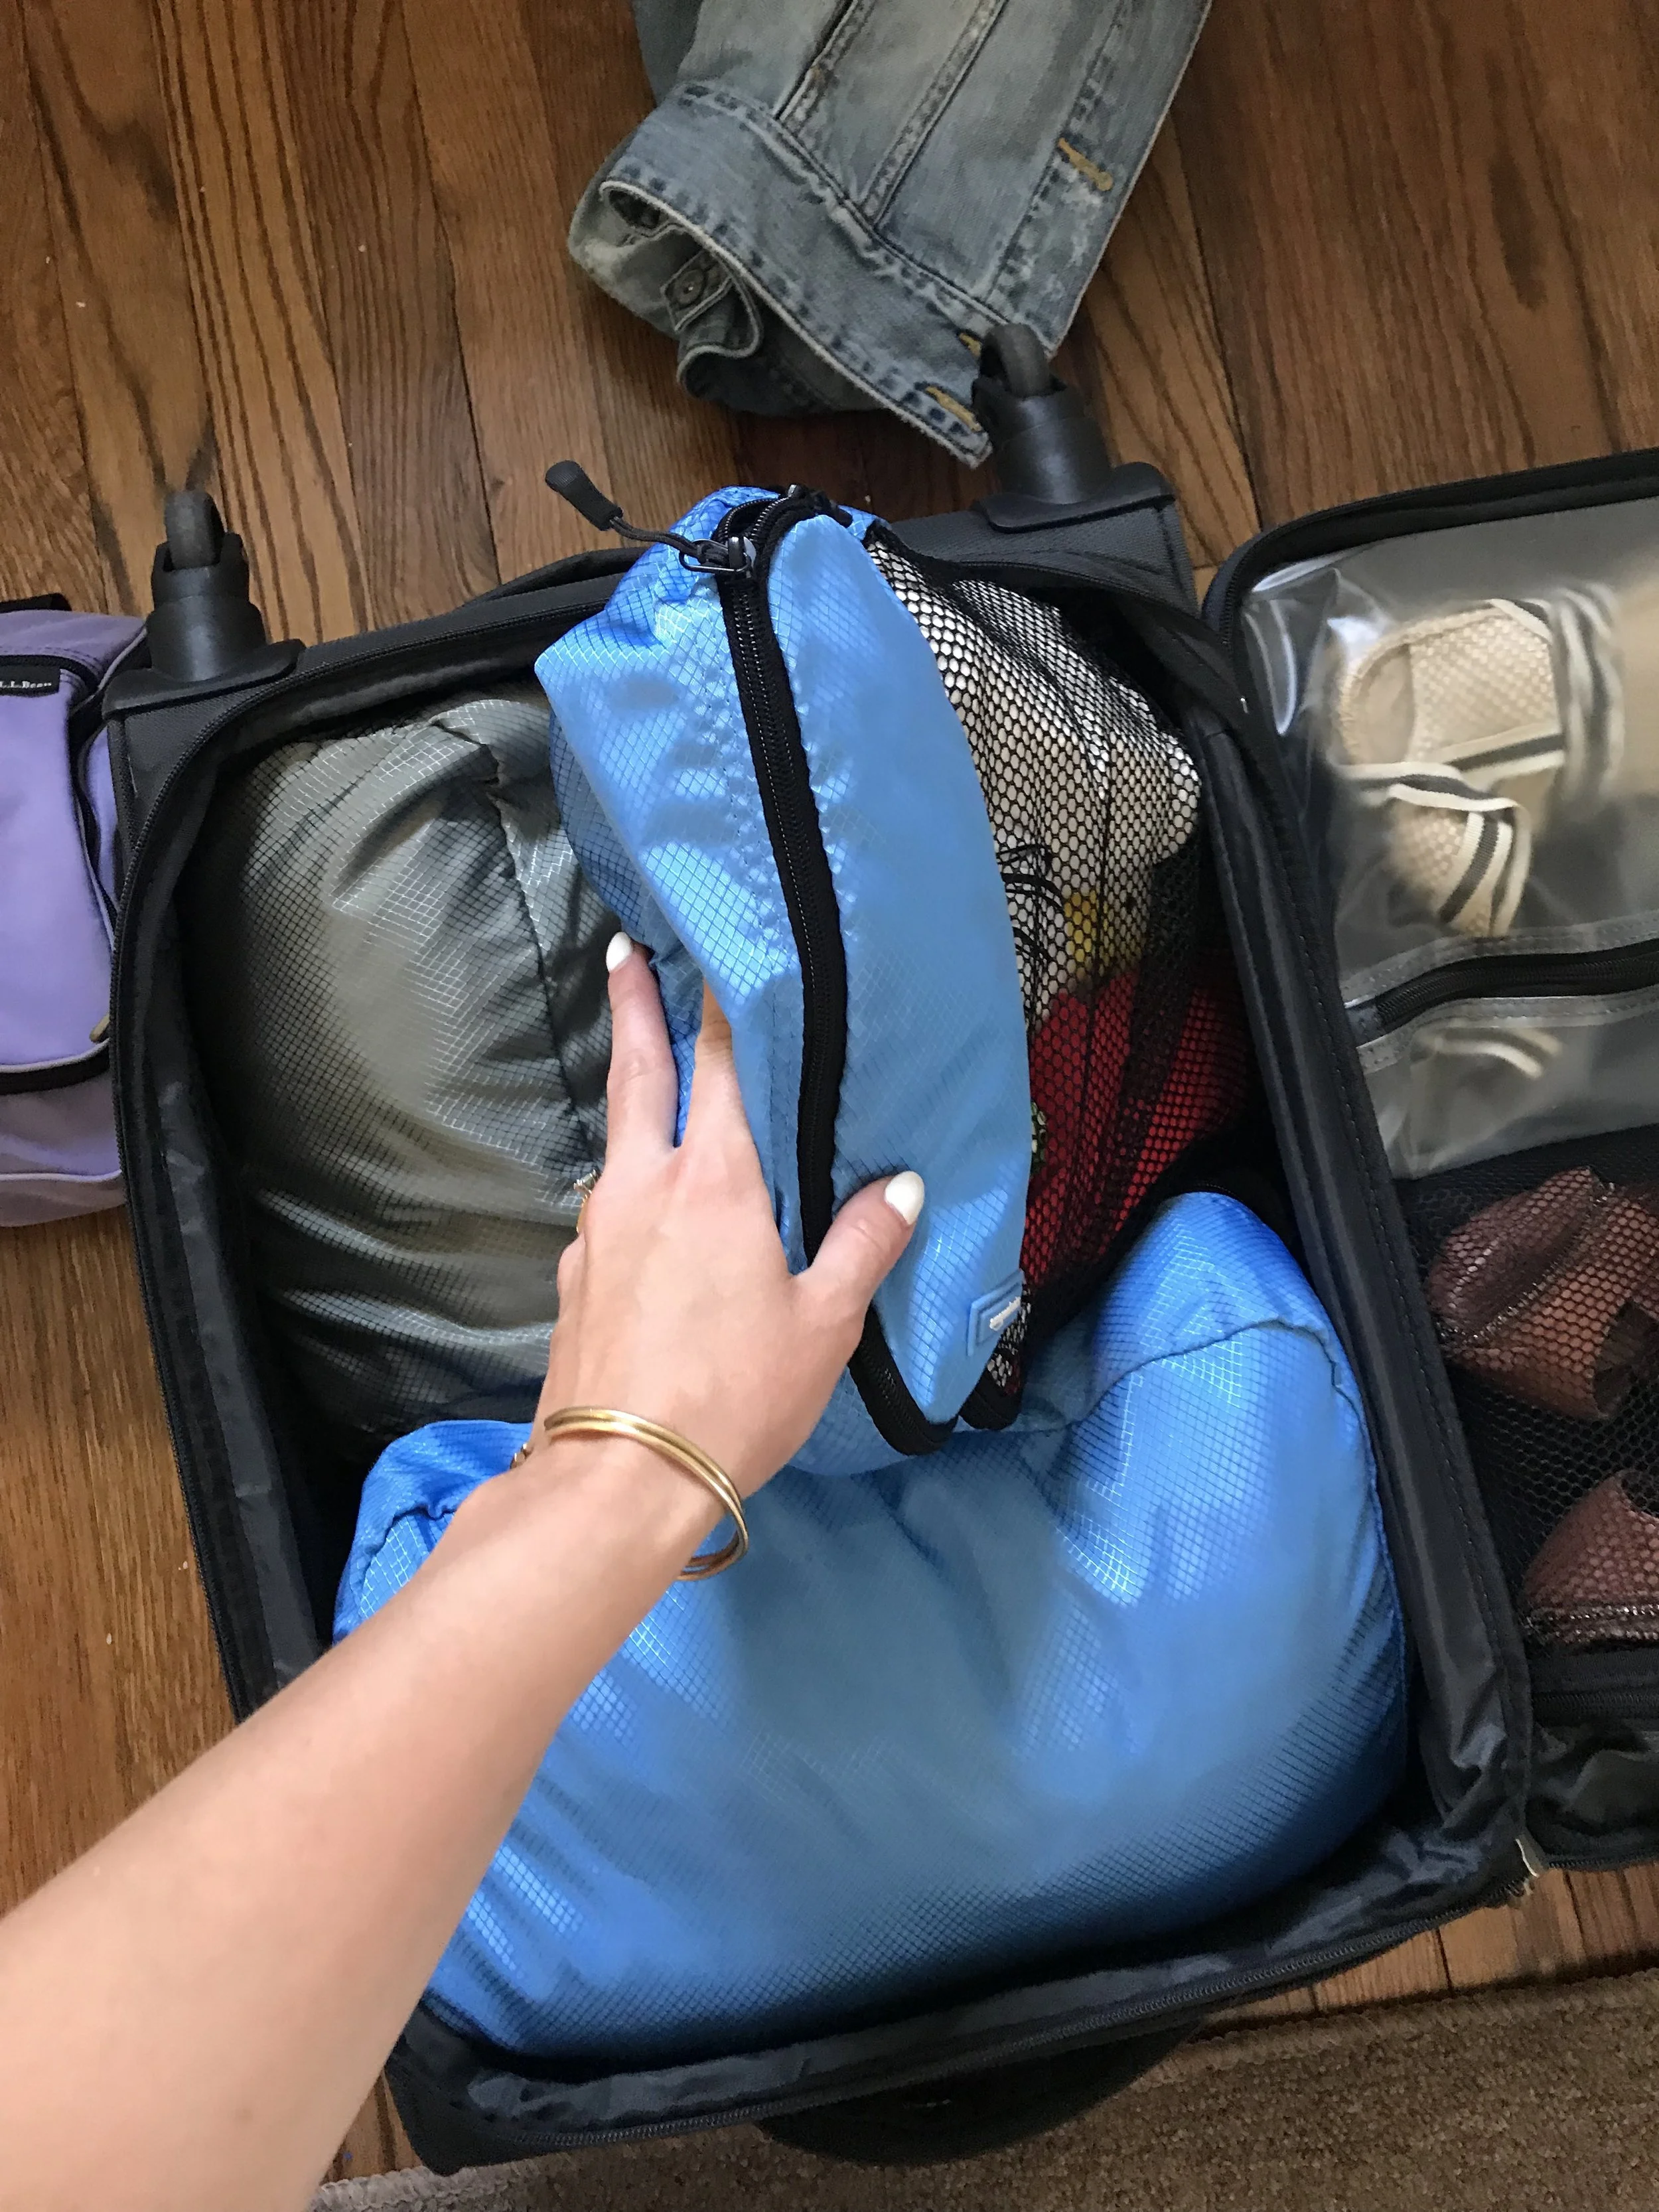
Third cube in.

Same thing! Half it and push down.
Lastly, I put the cosmetics bag wherever there is room— usually on the top end of the suitcase or backpack. This is nice to have on top so that when going through security you can just pop it out without digging around too much.


Everything is in with room to spare!!!
For the plane, I always wear one of my pairs of leggings— one pair of my comfy/bulky shoes (usually Adidas), my sports bra, a t-shirt, a sweatshirt and the jean jacket tied around my waist. (The plane is always freezing so I like to have lots of layers.)
STEP 5: The Personal Item Bag.
John hates that I bring a bag like this… but I like it. He brings a backpack, which is probably easier and more comfortable— but I am being stubborn and using this bag— mostly because I like to annoy him (I don’t know why it bothers him so much).
This bag below is nice because it has pockets… but I am kind of thinking about getting a bag like this one HERE because it slides on the handles of your suitcase and zips! Will probably be my next purchase because my bag is always super heavy to carry and doesn’t zip…. aka I roll my suitcase and set it on top and it falls off and spills everywhere. yikes.
maybe that’s why it annoys John? LOL


In here, I bring a ziplock bag of snacks (almonds, crackers and travel PB, cliff bars, RX bars, trail mix, beef jerky etc.)… these are life savers.
In here I also bring my journal (duh), multiple glue-sticks, my travel purse (which is big enough for my DSLR camera to fit in), my DSLR camera, passports, camera battery + cards, headphones, advil, etc. All the random miscellaneous things. My bag is always outrageously heavy… but it does start to get lighter as we eat the snacks. lol
John always carries this tripod (super light and easy to fit in a backpack— but still full length), go-pro accessories, go pro swivel stick shown HERE (great for getting in action videos!), and all of the electronic/chargers and converters in his personal item backpack.


STEP 6: Time to Travel!
And you’re done!! Time to hit the road….
Now with all that being said, we don’t have much room for extras— so keep that in mind when souvenir shopping. We really don’t bring back much (most of it is junk anyways)…. but if you want to bring things back or buy clothing there— definitely save some room.
I’m a firm believer in making a travel journal along the way.. you can read how to do that HERE. This is the best souvenir we bring back because it is a compilation of all of our receipts, activity tickets, maps, business cards and brochures that we pick up along the way. Plus it is a minute by minute journal of what we did!
I will also occasionally buy some jewelry or small trinkets here, if I can fit them in my personal item bag.
So, there you have it! Everything we take on a month long trip abroad. Obviously you gotta get a little creative and ask yourself— would I really need/want to wear this? And go with your favorites and essentials… and honestly comfort over everything.
I hope this was helpful! Please don’t hesitate to ask any other questions on anything I may have left out!! Thanks for reading and happy traveling!!
xoxox
Kayla
PACKING THE BACKPACK:

Shoes in the bottom zipper.

Heaviest cube goes in first.

Stuff it down in the bottom and half it.

Next big cube in next.

And then the next… sometimes they can squeeze right next to each other.

Cosmetics on the top… pull the string tight at the top and then buckle!

All in there!